Affordable Home Upgrades That Improve Comfort and Energy Use Without Major Renovation
y inbox that made my coffee go cold in my hand.
That bill pushed me into what I now call my “no-demo upgrade phase”—small, affordable tweaks that don’t require permits, dust clouds, or a contractor on speed dial.
Here’s what actually worked, what flopped, and what I’d do again in a heartbeat.
Start With the Boring Hero: A Home Energy Audit
I’ll be honest: an energy audit sounded as thrilling as watching paint dry. But when I tested this as my first step, it turned out to be the MVP.
I used my local utility’s free home energy assessment (many utilities quietly offer this—worth calling to ask). The auditor walked through with a thermal camera and showed me:
- A glowing blue draft line under my front door
- Hot spots around recessed lights in the ceiling
- A weirdly cold patch behind my sofa (yep, uninsulated exterior wall)
In my experience, this changed everything. Instead of guessing, I had a hit list.
- Often free or heavily discounted through your utility
- You get specific recommendations, not generic advice
- Some programs throw in free LED bulbs or weatherstripping
- Scheduling can take a few weeks
- Quality varies depending on who does the audit
If you can’t get a professional audit, a cheap infrared thermometer gun plus a draft detector kit from a hardware store can still help you locate the worst offenders.
LED Bulbs and Smart Controls: The Fastest Wins
I recently swapped out every remaining incandescent and CFL bulb in my home for high-quality LEDs—and I was weirdly annoyed I hadn’t done it sooner.
A few details from testing this at home:
- I chose LEDs with a 2700K–3000K color temperature for cozy, warm light in living areas
- 4000K in the kitchen where I want that crisp, “is this chicken done?” clarity
- I checked the Color Rendering Index (CRI) and stuck with 90+ where possible (colors just look better)
Then I layered in smart plugs and smart switches for lamps and hardwired lights in key rooms.
Why it worked for comfort and energy:- I set schedules so my living room lights turn on softly before sunset—no more walking into a dark cave
- I use motion sensors in the hallway and bathroom at night—no blinding lights at 2 a.m.
- Dimming alone saves energy and creates way better ambiance
The U.S. Department of Energy estimates that LED bulbs use at least 75% less energy and last up to 25 times longer than incandescent bulbs.
Cost range:- Quality LED bulbs: $3–$8 each
- Smart plugs: $10–$20 each
- Smart switches (if you’re comfortable doing basic wiring): $25–$50
Weatherstripping and Draft Fixes: Comfort You Can Feel in One Night
When the energy auditor showed me the draft under my front door on the thermal camera, it looked like my house was literally leaking money.
I spent one Saturday with:
- Adhesive foam weatherstripping
- A door sweep
- A couple of outlet/ switch insulation gaskets for exterior walls
When I tested this overnight, I could actually feel the difference sitting on the sofa near the door—no more sneaky cold breeze on my ankles.
Where this helps most:- Around exterior doors (top, sides, and bottom)
- Old single-pane windows or loose double-hungs
- Attic hatches
- Electrical outlets on exterior walls
According to the U.S. Department of Energy, air sealing and insulation can cut heating and cooling costs by about 15% on average for a typical home.
Pros:- Super cheap (often under $50 for a whole door’s worth of materials)
- One of the few upgrades where comfort improvement is basically immediate
- The adhesive on some weatherstripping can fail in a year or two, especially in high-traffic doors
- Over-sealing without proper ventilation can make indoor air feel stuffy in very tight homes (rare in older leaky houses, more of a concern in newer construction)
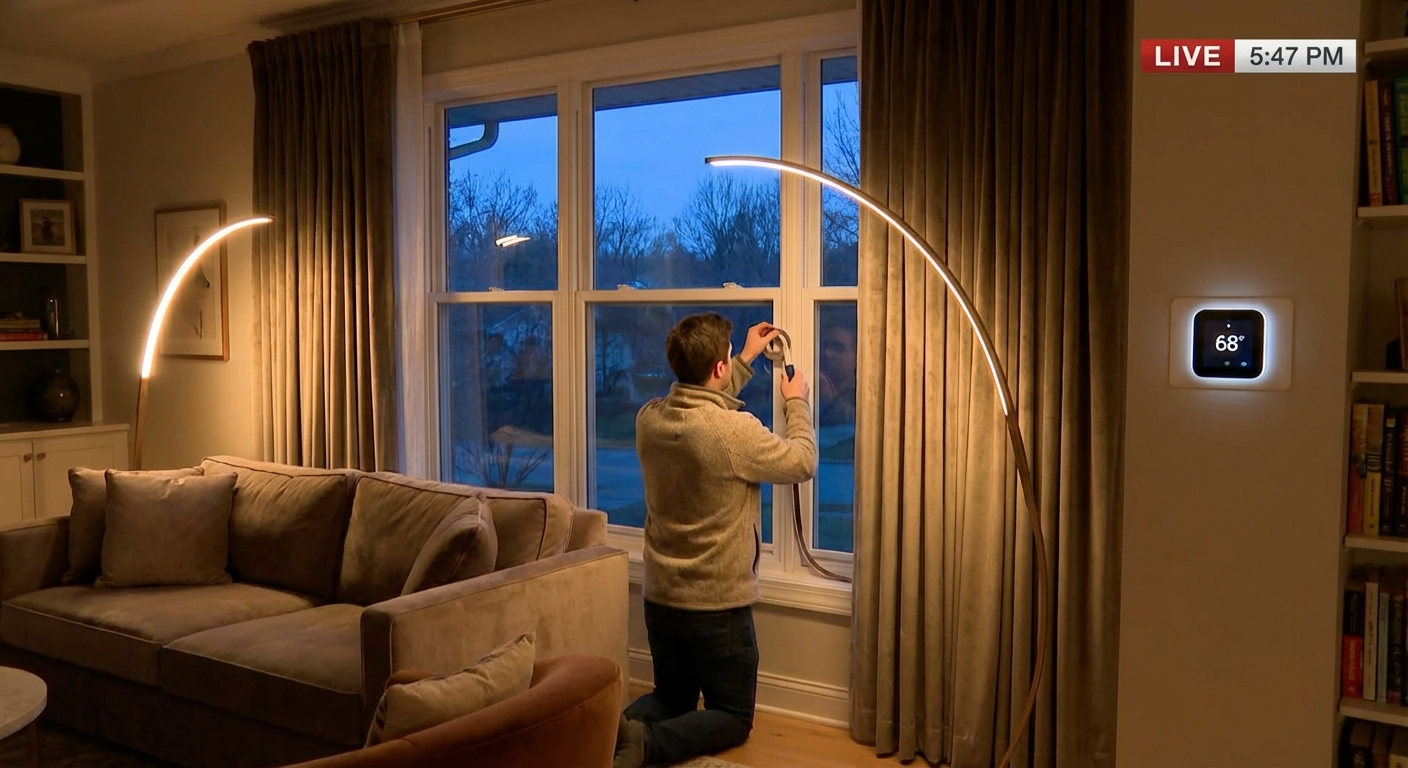
Smart Thermostats: Great, But Not Magic
I was skeptical about smart thermostats. Would a fancy screen really save energy? I tested one anyway—a mid-range model compatible with my older furnace.
Here’s what actually changed:
- I set a schedule that drops the temp at night and when I’m out
- Geofencing turns heating down when everyone leaves the house
- I use adaptive recovery, so the house is warm when I wake up without blasting the system
According to an analysis cited by ENERGY STAR, properly used smart thermostats can save about 8% on heating and cooling bills on average. My own bills were closer to 6–7%, but my comfort control improved a lot.
Pros:- Very noticeable comfort upgrades (no more “too hot, too cold” swings)
- Helpful data—run times, humidity, average temps
- If you never use the scheduling/automation features, it’s basically just a pricey regular thermostat
- Not every older HVAC system plays nicely—wiring can be an issue (I had to add a C-wire adapter)
If your current thermostat is already programmable and you’re using it correctly, the jump to “smart” is more about convenience and fine-tuning than massive extra savings.
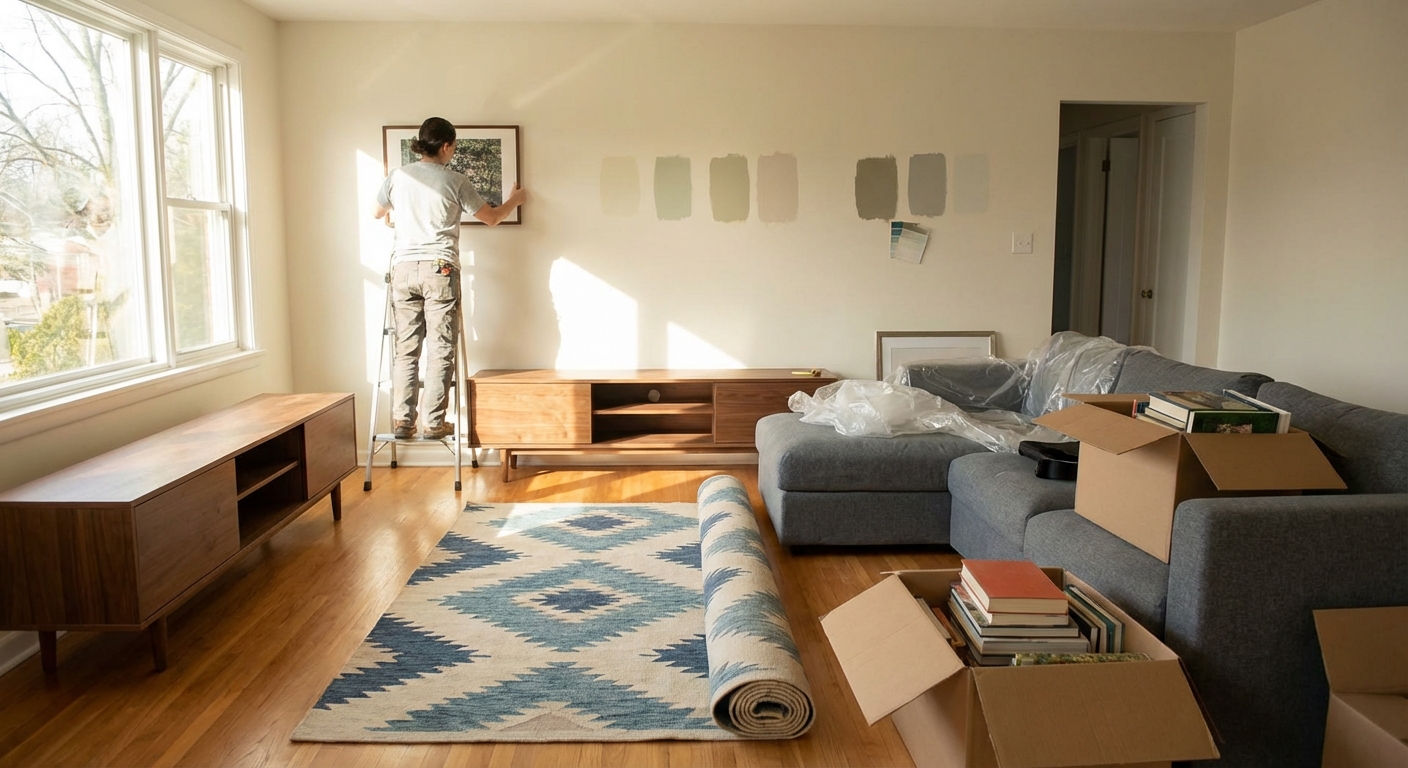
Layered Window Solutions: Fake a High-End Upgrade
Replacing all your windows is big money and serious disruption. I’m not anti-window-replacement, but it’s not exactly “no major renovation.” So I tried a layered approach.
1. Thermal Curtains & Shades
I added insulated blackout curtains in the bedrooms and a cellular (honeycomb) shade in the living room.
When I tested closing them at sunset during winter, the room temp held steadier—my thermostat runtime dropped noticeably in the app.
Cellular shades are particularly effective because the little air pockets act like mini insulation layers. The DOE notes they can reduce heat loss through windows by up to 40% in some cases, especially double-cell designs.
2. Interior Window Film
On my sunniest south-facing window, I experimented with a low-e window film.
Result?
- In summer, that room didn’t feel like a greenhouse anymore
- In winter, I could sit by the window without feeling that cold radiation chill
- Much cheaper than new windows
- You can target just the problem areas
- Some films slightly change the look of the window (a bit reflective)
- Cheap curtains or badly installed film can look…not great
Strategic Rugs and Soft Materials: The Low-Tech Comfort Hack
One of the most surprising comfort upgrades in my house cost under $100: a thick area rug with a dense pad on a cold slab-floor room.
When I measured floor temps with an infrared thermometer, the bare floor and the rug surface differed by several degrees.
It changed:
- How long I wanted to sit and hang out in that room
- How often I reached for the thermostat (less often)
Same idea with:
- Thick fabric sofa throws (especially near windows)
- Upholstered furniture instead of all hard surfaces
These won’t dramatically alter your energy bill, but they change perceived comfort in a way that often reduces the temptation to crank the heat.
Downside: If you already have allergies or dust issues, adding lots of fabric might mean you need to up your cleaning and vacuuming game.Small Ventilation & Air Quality Tweaks
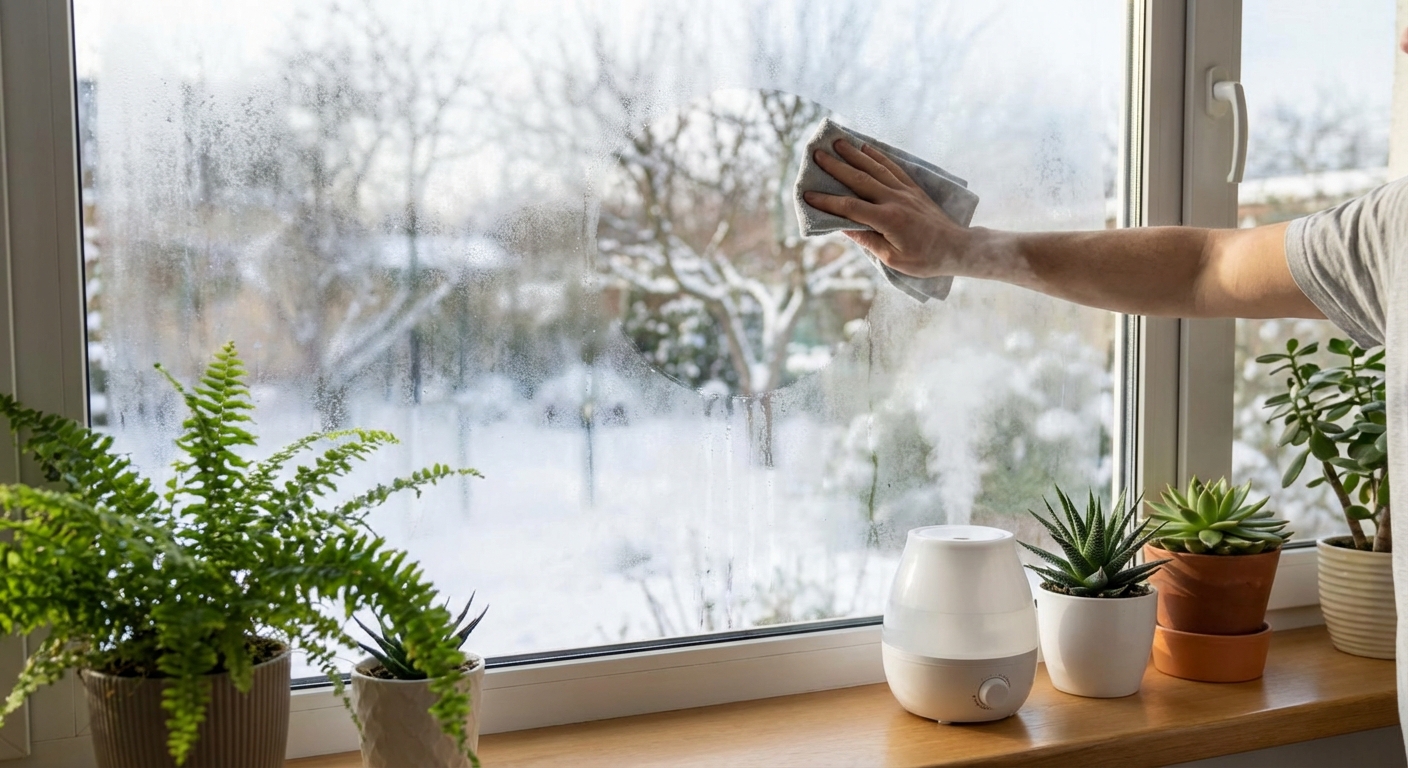
I underestimated air quality for a long time. Then I bought a cheap air quality monitor out of curiosity and realized my CO₂ levels spiked in the bedroom at night.
Here’s what I changed that didn’t involve tearing open walls:
- Balanced use of exhaust fans: I started actually using the bathroom and kitchen fans during and after showers/cooking. It helped with moisture and stale air.
- Smart plug for an air purifier: I ran a HEPA air purifier on a timer in the bedroom and living room.
- Window ventilation strategy: Short, intense airing (opening windows wide for 5–10 minutes) rather than leaving one cracked slightly for hours. In my climate, this actually conserved more energy.
Better air quality made lower temperatures feel more comfortable—stuffy, humid air makes you feel clammy even at moderate temps.
Trade-off: Running purifiers and fans uses some energy, but you may come out ahead if it allows you to run HVAC a bit less and avoid mold or moisture problems.Priority Order: Where I’d Spend My First $300
If I had to start from scratch again with a limited budget, based on all of this real-world testing, I’d probably go in this order:
- Weatherstripping and draft sealing in the worst spots
- LED bulb upgrades in the most-used rooms, plus one or two smart plugs
- Thermal curtains or a cellular shade on the coldest or hottest window
- A simple programmable or smart thermostat, if you don’t already have one
Then, with the savings from a season or two, I’d consider stepping up to higher-impact projects like better attic insulation or a more efficient HVAC system—which do cross into “bigger project” territory but build on everything you’ve already done.
The Real Bottom Line
You don’t have to live in a construction zone or remortgage your house to feel a real difference in comfort and energy use.
From my own experiments, the biggest pattern is this: many small, targeted upgrades beat one big flashy change. A draft-free doorway plus good lighting, a smart schedule, and a cozy rug can transform how a space feels—and quietly shave down your utility bills.
Just skip the cheapest, flimsiest versions of everything. Spend a bit more on the pieces you touch or see every day (like bulbs and curtains), and treat energy savings as a bonus that shows up silently on your statements.
Sources
- U.S. Department of Energy – Energy Saver: LED Lighting – Data on LED efficiency and lifespan
- U.S. Department of Energy – Energy Saver: Air Sealing Your Home – Guidance and estimated savings from air sealing
- U.S. Department of Energy – Energy Saver: Window Coverings – Performance of cellular shades and other coverings
- ENERGY STAR – Programmable and Smart Thermostats – Info on potential savings from smart thermostat use
- Harvard T.H. Chan School of Public Health – The Impact of Green Buildings on Cognitive Function – Research linking indoor air quality with comfort and performance