Carport Buying Guide: Materials, Size Planning, and Installation Factors
alled mine, I went from 10 minutes of frozen-finger misery to “start car, drive off.” That one upgrade also solved a slow-burn problem I hadn’t fully clocked: my car’s clearcoat was quietly being destroyed by sun and tree sap.
After helping two neighbors plan their own carports (and fixing a couple of my own mistakes), I’ve learned there’s way more to this than “buy metal thing, park car under it.” If you’re on the fence, this guide will walk through what actually matters: materials, sizing, and the hidden installation factors that can save—or cost—you serious money.
Why a Carport Might Beat a Full Garage
When I priced out a single-car attached garage, I got quotes in the $25,000–$40,000 range. A decent metal carport kit? Under $3,000 at the time, including anchors and delivery. Even allowing for inflation and installation costs, you’re usually looking at 70–90% cheaper than a traditional garage.
Other perks I’ve noticed:
- My insurance agent told me covered parking can reduce claims related to hail and sun damage (though discounts vary by provider).
- Resale-wise, appraisers I spoke with said a well-installed carport often adds perceived value, especially in hot or snowy climates. It’s not a garage, but it’s better than open driveway.
- It doubles as a shaded workshop or party area. I’ve hosted a birthday under mine during a surprise rainstorm, and it was a lifesaver.
The trade-off: carports are more exposed, offer less security, and—if you buy the wrong one—can turn into a twisted metal sculpture during the first big storm.
Choosing Carport Materials (And What I’d Avoid Again)
I’ve tested or helped install carports in three main material categories: metal, wood, and hybrid/temporary structures.
1. Metal Carports (Steel & Aluminum)
Steel is what I ended up with for my own place. Pros (from living with one):- Durability: My 12-gauge galvanized steel frame with 26-gauge roof panels has survived 70+ mph wind gusts and a 10-inch wet snow event with no drama.
- Low maintenance: I hose it down maybe twice a year. No painting, no staining.
- Fire resistance: Not flammable, which was huge for me in a wildfire-prone region.
- Cheap, thin-gauge kits flex and rattle like a shopping cart in a thunderstorm.
- Metal radiates heat. In summer, it’s much cooler than full sun, but it still gets toasty.
In my experience, aluminum is great for mild climates or when you’re very close to salty air, but it’s easier to dent and usually not rated for the same snow loads as heavier steel.
> Insider tip: If a seller doesn’t clearly state frame gauge, roof panel gauge, and certified wind/snow ratings (e.g., 90 mph wind, 30 psf snow), I move on. The legit manufacturers are proud of those numbers.
2. Wood Carports
A neighbor roped me into helping stain his beautiful timber-framed carport, and I have mixed feelings.
Pros:- Looks fantastic. His actually increased curb appeal.
- Easier to customize and integrate into existing architecture.
- Needs regular sealing or painting—every 2–4 years where we live.
- Vulnerable to rot and termites if not detailed right.
- Usually more expensive, especially if you use engineered lumber and a pro crew.
Wood is ideal if aesthetics and blending with your house matter more than low maintenance.
3. Fabric / Temporary Structures
I bought a cheap fabric “car tent” once as a test. That experiment lasted one storm.
Pros:- Dirt cheap upfront.
- Easy to move or remove.
- Anchoring was sketchy. A 40 mph wind had it flapping like a parachute.
- Fabric degraded after two seasons of UV exposure.
I now see these as short-term or backup solutions, not a real long-term carport.
Size Planning: Get This Wrong and You’ll Regret It
The most common mistake I see (and almost made): buying a carport that technically fits the car, but not real life.
Step 1: Measure the Real Vehicles
When I measured my SUV, I realized the spec sheet lied a bit. Those numbers often exclude side mirrors and don’t account for bike racks, roof boxes, or that weird cargo box you swear you’ll sell one day.
I did this instead:
- Measured bumper to bumper, including hitch.
- Checked width with mirrors extended.
- Added 3 feet total side clearance so doors can open without contorting.
For a single car, I’ve found a comfortable minimum is:
- Width: 12 ft
- Length: 20 ft (longer if you have a truck with a long bed)
- Height: At least 7–8 ft clearance, more for SUVs with racks or vans.
For two cars, 20×20 ft is the classic square, but in use, it feels tight. If you can swing it, 20×24 or 24×24 makes everyday life less “door-ding roulette.”
Step 2: Think About Future Use
When I bought mine, I purposely sized for a truck I didn’t own yet. Two years later, I traded my sedan for a pickup, and I’m very glad I future-proofed.
Ask yourself:
- Will you ever own a taller vehicle (RV, camper van, boat on trailer)?
- Do you want storage cabinets, firewood racks, or a tool bench along one side?
- Could this double as a covered patio or outdoor gym?
Add at least 2–4 extra feet in length if you can. Nobody complains their carport is slightly too big.
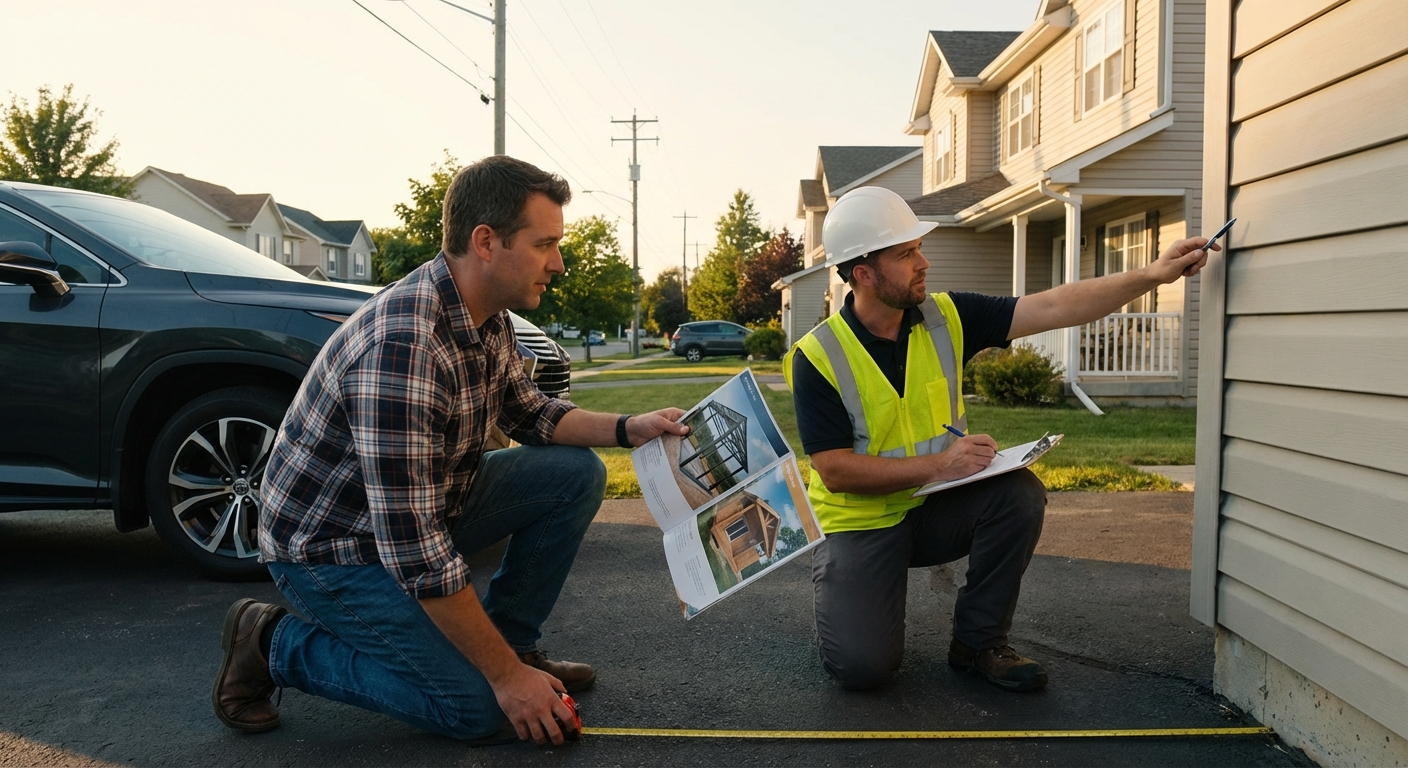
Step 3: Respect Building Codes and Setbacks
This is where many people get burned.
When I first sketched my layout, I discovered my city required:
- A minimum setback from the side property line
- Limits on impervious surface coverage
- A zoning review for structures over a certain height
Check your local permitting office or website before you buy anything. In the U.S., your local building department (city or county) is the final word, even if the manufacturer says “no permit needed.”
Installation Factors I Wish I’d Known Earlier
1. Ground Prep and Foundation
I’ve tried carports on bare gravel and on a concrete slab. The difference is night and day.
Bare gravel pros:- Cheaper, faster, more forgiving.
- Weeds and erosion become an ongoing battle.
- Water splashes mud onto the lower part of the car.
- Clean, level surface. Easier to shovel snow and sweep.
- Strong anchor points with expansion anchors or wedge bolts.
If a slab’s not in the budget, at least do compacted gravel with proper drainage and solid anchors. I watched a neighbor’s unanchored carport lean 10 degrees after a winter storm—it’s heartbreaking and avoidable.
2. Anchoring and Wind/Snow Loads
This is the “boring” part that actually keeps your structure from becoming airborne.
In my area, the building code references ASCE 7 wind load standards. That sounds nerdy, but it boils down to: your carport needs to be designed for local wind speeds and snow loads.
From my installs and research:
- Use the anchors recommended for your surface (auger anchors for soil, proper concrete anchors for slabs).
- Avoid cutting corners on the number of anchors or braces. Those “optional” bracing kits often make the difference between standing and folding.
I also learned to check if the kit is engineer-certified for my state or region. Many reputable manufacturers provide stamped drawings if you’re pulling a permit.
3. DIY vs Professional Installation
I helped assemble my steel carport with two friends. It took us a full weekend, three trips to the hardware store, and some creative language when a mis-labeled part slowed us down.
DIY makes sense if:
- You’re comfortable working at height and using power tools.
- The structure is relatively small/simple.
- You have at least one or two helpers.
Professional install makes sense if:
- You’re in a high-wind or heavy-snow area where precision matters.
- The carport is tall, attached to the house, or integrated into existing structures.
- Local code officials require licensed installers.
Many larger brands now offer installation bundled with purchase. When I helped my cousin buy hers, the extra cost felt steep at first, but watching a pro crew finish in half a day—perfectly square and plumb—made it look like money well spent.
4. Drainage, Gutters, and Runoff
My first big storm taught me this: carports don’t magically make rain disappear; they redirect it.
Our initial setup channeled water directly onto a garden bed, which started eroding a little trench. I eventually added gutters and downspouts, routing water to a gravel splash zone.
If your carport is near the house, think about:
- Keeping water away from the foundation.
- Avoiding icy patches where you walk in winter.
- Not dumping runoff on your neighbor’s side (that can cause real drama).
Cost Ranges and What’s Actually Worth Paying For
Here’s what I’ve personally seen and paid in the last few years (your area may vary):
- Basic single-car metal kit: $1,200–$3,000
- Larger two-car or RV-height metal carport: $3,000–$8,000
- Custom wood carport: $8,000–$25,000 depending on design and labor
Where I absolutely think the upgrade is worth it:
- Thicker steel gauge and certified wind/snow ratings
- Extra height and length for future flexibility
- Gutters if you’re anywhere near walkways or foundations
Where you can save:
- Fancy trim colors and cosmetic add-ons (nice, but optional)
- Complex shapes you don’t truly need
When a Carport Isn’t the Right Answer
I’m a carport fan, but I’ve also told a couple of friends not to bother.
A carport may not be ideal if:
- You need real security for tools or valuable equipment.
- You live in an HOA with strict appearance rules that ban open-sided structures.
- You’re in an extreme snow zone where only fully enclosed, engineered garages reliably survive.
For one friend with constant theft issues in his neighborhood, we ended up planning a small, fully enclosed metal garage instead. More expensive, but the right call.
Final Thoughts from the Driveway
When I tested life with a carport versus without, the differences snuck up on me: less frost scraping, fewer paint swirls, and a surprisingly useful multi-purpose outdoor space.
The key lessons I’d pass on:
- Don’t cheap out on structure and anchoring; that’s what keeps it standing.
- Size for how you live, not just what you drive today.
- Respect local codes and climate—what survives in Arizona might fold in Minnesota.
If you treat your carport as a small but serious building project, not just a big metal umbrella, you’ll end up with something that quietly makes every day a bit easier.
Sources
- U.S. Department of Energy – Reducing Heat and Sun Damage to Vehicles - Background on sun exposure and vehicle heat
- Federal Emergency Management Agency (FEMA) – Manufactured Home Installation in Flood Hazard Areas - Guidance on anchoring and wind considerations relevant to lightweight structures
- American Society of Civil Engineers (ASCE) – ASCE 7 Standard Overview - Reference for structural design loads (wind, snow) used in carport engineering
- Forbes – Cost To Build A Garage 2024 - Cost comparison for garages vs more basic structures
- University of Minnesota Extension – Driveway and Garage Planning - Planning guidance for vehicle storage and site layout