Easy Dessert Recipes Guide
I test dessert recipes for a living, and I’m also the person who will absolutely eat cookie dough with a spoon over the sink. So this Easy Dessert Recipes Guide isn’t about picture-perfect patisserie; it’s about fast, forgiving, and legitimately delicious sweets you can actually pull off on a weeknight.
I’ll walk you through a few core recipes I’ve tested over and over, plus why they work (and when they don’t). Think of this as your cheat sheet to looking like you Tried Very Hard… when you absolutely did not.
What Actually Makes a Dessert "Easy"?
When I tested dozens of “easy” viral recipes, a pattern emerged. The ones people actually make again and again tend to:
- Use 7 ingredients or fewer (ideally pantry staples)
- Be mix-in-one-bowl or made in a single pan
- Have forgiveness built in (a minute extra in the oven won’t ruin everything)
- Not require weird gear (no stand mixer, no sugar thermometer)
In my experience, if a recipe asks for room-temperature eggs and softened butter and sifted flour, most home cooks mentally tap out. So the desserts below are built to avoid that level of emotional commitment.
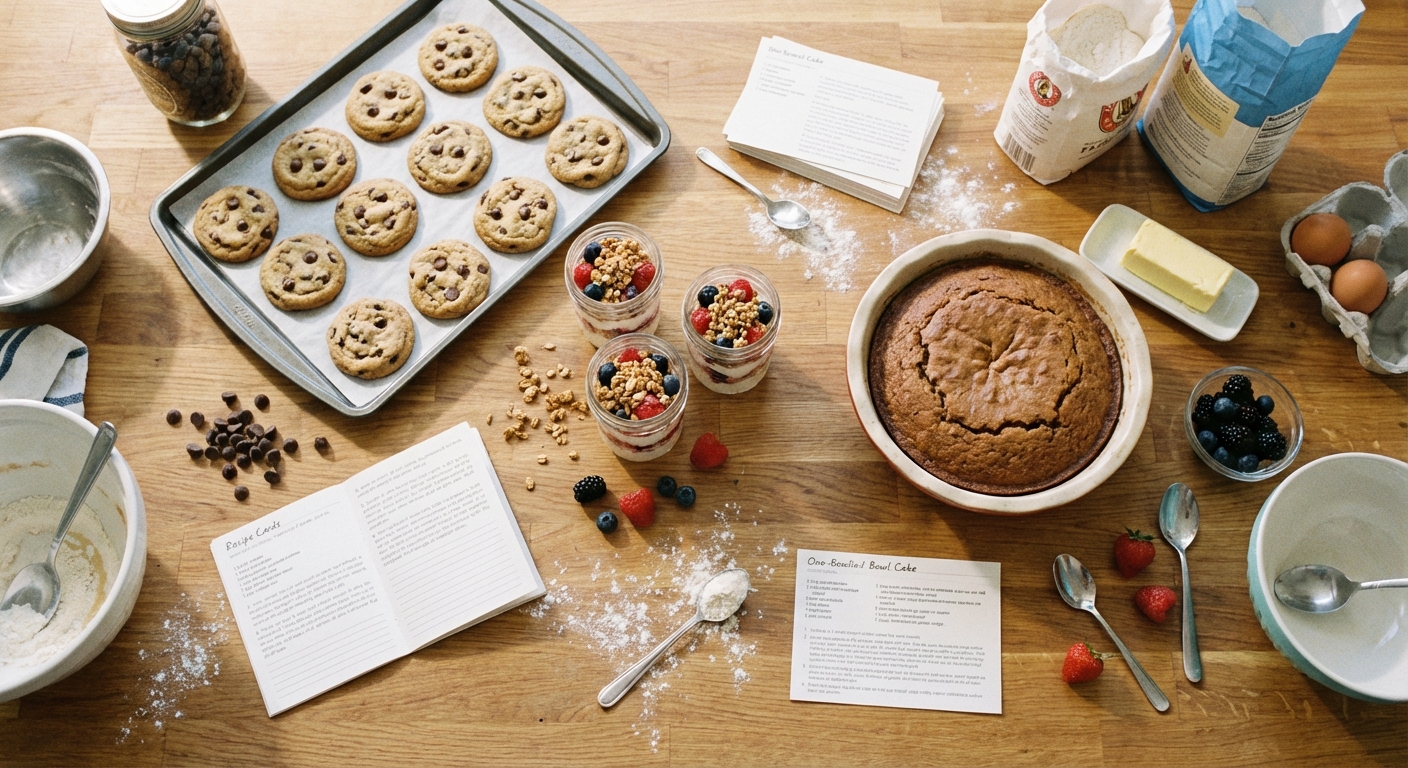
1. 10-Minute Mug Brownie (That Actually Tastes Baked)
I recently discovered that the difference between a rubbery mug brownie and a legit, I’d serve this to my friends dessert comes down to two things: fat and undercooking.
My Go-To Mug Brownie Formula
Stir directly in a large microwave-safe mug:
- 2 tbsp unsalted butter, melted (or neutral oil)
- 2 tbsp granulated sugar
- 1 tbsp brown sugar (key for chewiness)
- 2 tbsp cocoa powder
- 2 tbsp milk
- 3 tbsp all-purpose flour
- Small pinch of salt
- Tiny splash vanilla (optional but worth it)
- Handful of chocolate chips if you’ve got them
Microwave 40–60 seconds. When I tested this, 50 seconds at 800W was my sweet spot. You want the center just barely set; it’ll keep cooking from residual heat.
#### Why It Works (Nerdy but Useful)
- Brown sugar + butter: Adds moisture and that slightly fudgy texture.
- Short cook time: Microwave energy excites water molecules fast; a few extra seconds can take you from gooey to dry.
If you’re nervous, undercook it first. A slightly gooey center is far more forgiving than a dry sponge.
2. No-Bake Cheesecake Cups (The Zero-Stress Dinner Party Trick)
When I tested these on a group of brutally honest friends, three of them asked what bakery I bought them from. That’s when I knew I had a keeper.
The Basic Structure
You’re building three layers in small glasses or jars:
- Crumb base – crushed cookies + melted butter
- Cheesecake cream – softened cream cheese + sugar + something creamy
- Topping – jam, fresh fruit, lemon curd, or even chocolate shavings
For 4 small servings:
Base- 6–8 digestive biscuits or graham crackers, finely crushed
- 2–3 tbsp melted butter
Mix, then press lightly into the bottom of glasses.
Filling- 200 g cream cheese (full-fat; it matters)
- 3–4 tbsp powdered sugar
- 3–4 tbsp Greek yogurt or heavy cream
- 1 tsp vanilla
Beat until smooth. Spoon over the crumbs.
Top with berries, a spoonful of warmed jam, or sliced banana plus a drizzle of melted chocolate.
Chill for at least 30 minutes if you can; an hour is better. But I’ve eaten them after 10 minutes, and they were still dangerously good.
#### Why Full-Fat Cream Cheese Matters
Reduced-fat cream cheese tends to have more water and stabilizers, and when I tested it, the filling turned grainy and weepy after chilling. Full-fat gives you that dense, velvety texture you expect from a proper cheesecake.
Pros: No oven, looks fancy, endlessly customizable, easy to make ahead. Cons: Not ideal if you’re avoiding dairy; does require at least some chilling time to fully set.3. One-Bowl Sheet Pan Cookie Bars
When I tested various easy cookie recipes, cookie bars consistently outperformed classic drop cookies for beginner bakers. Why? Zero scooping, zero chilling, and you’re not fighting with hot vs. cold baking sheets.
Here’s my base formula, adapted from the classic creamed-cookie ratio but simplified.
Simple Cookie Bar Blueprint
Preheat oven to 350°F (175°C). Line an 8x8-inch pan with parchment.
In one bowl, mix:
- ½ cup (115 g) melted butter
- ½ cup brown sugar
- ⅓ cup white sugar
- 1 large egg
- 1 tsp vanilla
- 1 ¼ cups all-purpose flour
- ½ tsp baking soda
- ¼ tsp salt
- ½–¾ cup chocolate chips or chopped chocolate
Stir wet ingredients together, then fold in dry, then chocolate. Spread in pan, bake 18–22 minutes. When I tested this, edges just golden and center slightly soft gave the best texture.
Let cool at least 15–20 minutes before slicing so they don’t fall apart.
#### Why These Are So Forgiving
- Melting butter instead of creaming means you can skip the whole “room temperature” dance.
- Slight underbaking leaves you with chewy centers even if you overshoot by a minute or two.
4. Three-Ingredient Fruit Crumble (Your Back-Pocket Emergency Dessert)
This one basically saved me during a summer barbecue when I completely forgot I’d promised dessert. I had apples, oats, and butter. That’s it. Dessert still happened.
My Minimalist Crumble Method
You need:
- Any fruit that softens when baked: apples, berries, peaches, pears, frozen mixed berries works well
- A bit of sugar or honey
- Crumble topping: equal parts melted butter, oats, and flour, plus a pinch of salt
For 4–6 servings:
- Toss about 4 cups chopped fruit with 2–4 tbsp sugar (depending on sweetness) and a squeeze of lemon if you have it. Spread in a baking dish.
- In a bowl, mix:
- ½ cup oats
- ½ cup flour
- ½ cup melted butter
- 2–3 tbsp brown sugar
- Pinch of salt
- Scatter crumble on top. Bake at 350°F (175°C) for 25–35 minutes, until the top is crisp and the fruit is bubbling.
Serve warm with ice cream or yogurt if you’re pretending it’s breakfast. (I’ve done this. Zero regrets.)
#### Why It’s So Flexible
Fruit crumbles are high-moisture, rustic desserts. That means:
- Slightly underripe fruit? Sugar covers it.
- Slightly overbaked topping? Still crunchy and good.
5. Balancing Easy with Health(‑ish) Choices
I’m not going to pretend these are health foods. But there are ways to make quick desserts a little gentler on your body without destroying the joy factor.
From research and registered dietitian advice I’ve read, a few reasonable tweaks can help:
- Portion control: Single-serve desserts like mug brownies naturally limit how much you eat at once.
- Fiber and fruit: Adding oats, nuts, or fruit (like in crumbles) can improve satiety and add micronutrients.
- Mindful sugar swaps: Replacing all sugar with alternative sweeteners can wreck texture. However, substituting 25–30% with something like erythritol or stevia blends can sometimes work. When I tested this in cookie bars, going beyond 30% made them dry and oddly cooling.
The U.S. Dietary Guidelines (2020–2025) suggest keeping added sugars below 10% of daily calories. That doesn’t mean “no dessert ever”; it means planning sweets like these as intentional treats, not background noise.
Honest Limitations: When Easy Desserts Aren’t Enough
I love these recipes, but I won’t lie: they’re not going to replace a professionally baked Parisian tart.
- Textures are generally softer, gooier, and more rustic.
- If you’re baking for someone who’s extremely particular about classic textures (like a crisp-edge, soft-center bakery cookie), you might need a more advanced recipe.
- For high-stakes events (weddings, big anniversaries), easy desserts can be great for the day before or after, but probably not the star of the show.
That said, in my experience, most people care way more about flavor, warmth, and the fact that you made something than whether your crumble topping is perfectly sandy.
Quick Troubleshooting Cheat Sheet
Based on dozens of test batches and a few absolute disasters:
- Dry mug cake/brownie – Cooked too long. Reduce time by 10–15 seconds and add a teaspoon of milk next time.
- Gritty no-bake cheesecake – Sugar not fully dissolved or low-fat cream cheese. Use powdered sugar and full-fat.
- Rubbery cookie bars – Overbaked. Pull them when the center still looks slightly underdone; they firm up as they cool.
- Watery fruit crumble – Very juicy fruit + low oven heat. Bake a bit longer until the juices thicken and bubble.
Final Thought: Build Your Own Easy Dessert "Toolbox"
If you master just three categories—a mug dessert, a no-bake dessert, and a one-pan baked dessert—you’ll be able to handle almost any last-minute sweet-tooth emergency.
My suggestion:
- Pick one recipe from this guide.
- Make it twice in the next month.
- Pay attention to the tiny adjustments (10 seconds more or less, a spoon of extra milk, a slightly cooler oven).
That’s how you go from “I hope this works” to “Yeah, I’ve got this” without needing pastry school or a kitchen scale that costs as much as your rent.
Sources
- U.S. Department of Agriculture – Dietary Guidelines for Americans 2020–2025 - Official recommendations on added sugar and overall diet patterns
- Harvard T.H. Chan School of Public Health – The Nutrition Source: Carbohydrates and Sugars - Evidence-based overview of added sugar and health
- BBC Good Food – Baking for Beginners - Practical tips on basic baking techniques and common mistakes
- King Arthur Baking Company – Cookie Chemistry - In-depth explanation of how fats, sugars, and baking times affect cookie texture
- Mayo Clinic – Healthy Desserts: Are They Possible? - Balanced look at making sweets a reasonable part of a healthy eating pattern