Guide to Creating Functional Garden Workspaces
tes. That was the day I realized: my garden didn’t need more plants, it needed a functional workspace.
Since then, I’ve helped friends, clients, and one very stubborn neighbor turn chaotic corners of their yards into hard‑working, beautiful garden work zones. This guide is everything I’ve tested, broken, fixed, and finally gotten right along the way.
Step 1: Decide What Your Garden Workspace Actually Needs To Do
The biggest mistake I made early on was copying Pinterest instead of my real habits.
When I tracked one month of my garden time (yes, I actually wrote it in a notebook), I noticed I wasn’t doing “a bit of everything.” I was mostly:
- Potting up seedlings
- Pruning and cleaning tools
- Storing fertilizers, compost, and plant food
Your list might be totally different. Maybe you:
- Do cut flowers and need a safe place to condition stems
- Start tons of seeds under lights
- Do DIY projects (trellises, raised beds, irrigation tweaks)
Once I asked myself, “What do I do here most often?” the design got way simpler. My potting bench moved closer to the compost bin and water source, and my storage shifted near the back door because I grab tools on my way out.
Take one gardening day and write down every task you do and where you do it. You’ll see natural “zones” appear.
Step 2: Choosing the Right Location (Sun, Water, and Your Back Will Thank You)
My first “workspace” was in full, brutal afternoon sun. I lasted 20 minutes before I gave up and went inside. Lesson learned: location isn’t about aesthetics alone.
In my experience, a good garden workspace checks these boxes:
- Close to water – Hose bib, rain barrel, or irrigation line. Carrying heavy watering cans is romantic for exactly 3 days, then it’s just back pain.
- Partial shade or adjustable shade – A north or east side of the house, under a pergola, or with a shade sail. When I tested a workspace under full sun vs one with dappled shade, I doubled my time outside.
- Near your main path – If you have to trek across the yard to grab pruners, you’ll skip minor tasks that keep plants looking good.
- Solid, level ground – Pavers, gravel, decomposed granite, or decking. I used compacted gravel with a simple edging—cheap, drains well, and doesn’t become a mud pit.
If you’re in a small space (balcony, tiny patio), don’t write this off. A folding wall-mounted table and a compact storage cabinet can be a very functional “micro-workspace”. I tested this on a 6'×8' apartment balcony and could still sit, pot, and store tools without stepping on anything alive.
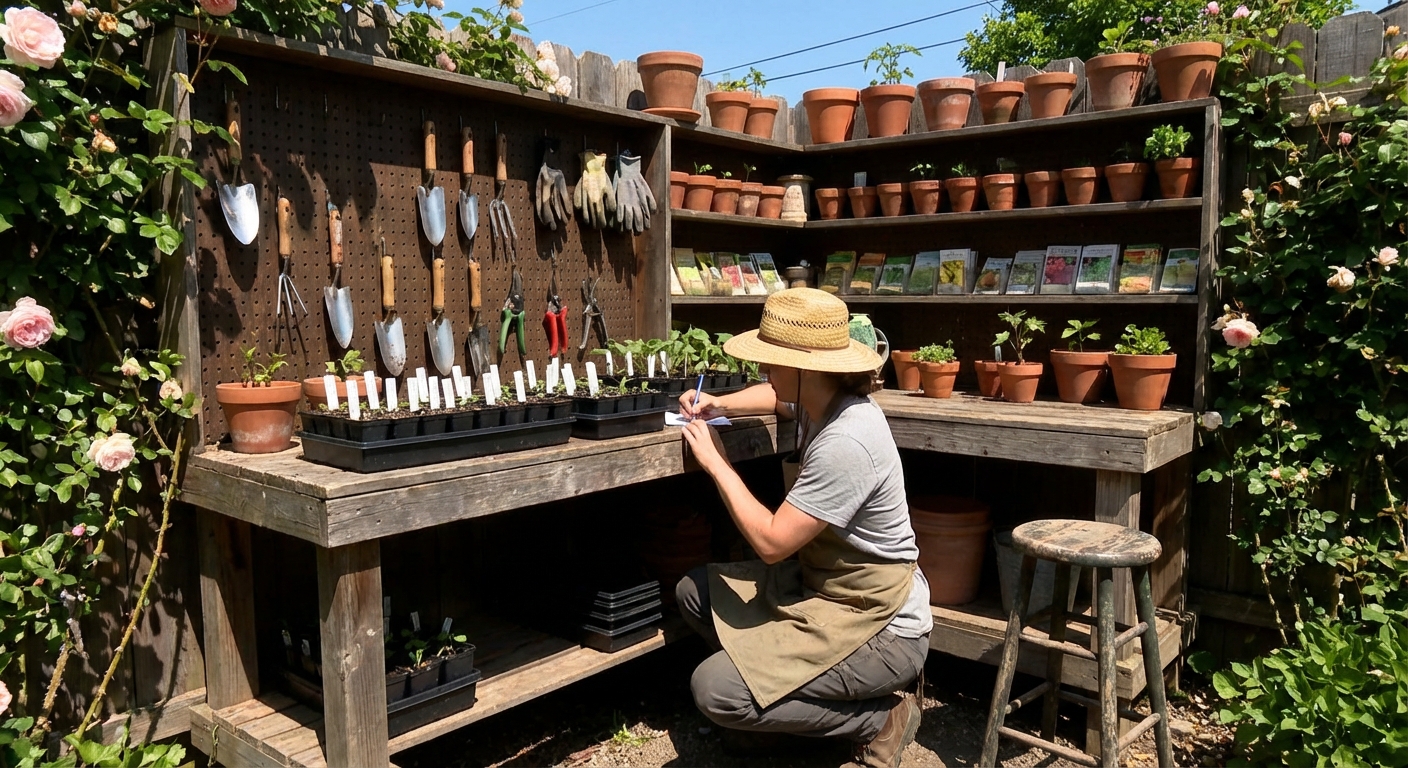
Step 3: The Work Surface – Your Potting Bench Is Mission Control
Once I upgraded from that sad plastic table to a proper bench, everything changed.
Ideal Bench Specs (from trial, error, and some lower-back complaining)
- Height: 34–38 inches works for most adults. I landed on 36 inches after trying a standard 30-inch table and feeling hunched the whole time.
- Depth: 20–24 inches. Deep enough to work comfortably, shallow enough not to eat your entire path.
- Material:
- Pressure-treated wood or cedar outdoors
- Galvanized steel for top surfaces (I love this for easy cleanup)
- If you use pallets, seal and sand them—splinters plus wet hands are not fun.
I added three things that I’d never skip now:
- Built-in soil bin – A cut-out in the bench with a removable bin underneath. When I tested this versus using loose bags on top, potting time dropped and mess dropped even more.
- Backboard with hooks – Hang trowels, pruning shears, twine, and a brush. Tools in sight = tools actually used.
- Lip around the edge – A 1-inch lip kept soil, labels, and seeds from constantly rolling off.
Step 4: Smart Storage (Where the Real Efficiency Lives)
I used to think I had a tool problem. Turned out I had a storage problem.
A 2020 survey by the Royal Horticultural Society found that gardeners who stored tools properly (cleaned and oiled regularly) saved up to 30% on replacement tools over 5 years. I completely believe that; once I started hanging and oiling mine, breakages nearly stopped.
What’s Worth Storing Where
Under-bench storage:- Heavy bags (compost, soil, mulch)
- Bulk amendments (perlite, bark chips)
- Buckets and trays
- Long-handled tools on hooks or a rack
- Frequently used hand tools at eye level
- Fertilizers
- Organic pesticides
- Anything sharp if you have kids or pets
Pro tip I learned from a professional landscaper: store hand tools in a bucket of sand mixed with a bit of mineral oil. It lightly cleans and oils them every time you plunge them in. When I tested this, my pruning snips rusted way slower.
Step 5: Lighting, Power, and Weather Protection
The year I added outdoor string lights and a weatherproof outlet was the year my garden started actually getting maintained in the evenings.
Lighting
- Task lighting: A small, clamp-on LED work light on my bench made transplanting at dusk oddly relaxing.
- Ambient lighting: Solar string lights gave just enough glow to see where I’d left tools.
There’s a practical side too: according to a 2023 report from the U.S. Department of Energy, LED outdoor lighting is significantly more energy-efficient and longer-lasting than halogen or incandescent, making it cheaper to run long-term.
Power
If you ever:
- Run a soil-block maker
- Charge a cordless trimmer
- Use a heat mat or grow light near the workspace
…a weatherproof outdoor outlet is worth it. I had an electrician install a GFCI outlet with a proper in-use cover. Not glamorous, but safer.
Weather Protection
What’s worked for me and clients:
- Polycarbonate roof over part of the workspace – lets in light, blocks rain.
- Retractable awning – more flexible but pricier.
- Simple umbrella – low-budget option, surprisingly effective.
The downside to full coverage is heat build-up in summer. On my covered bench, I had to add a small fan and shade cloth on really hot days.
Step 6: Ergonomics – Save Your Body, Garden Longer
When I hit my late 30s, I suddenly noticed how unforgiving long potting sessions could be.
Here’s what changed things:
- Bench at proper height – No more hunching.
- Anti-fatigue mat or rubber stall mat – I first tried this in a client’s garden and immediately bought one for myself. Big difference after an hour of standing.
- Stool with wheels – For working along raised beds or containers. I used to scoot on an upside-down bucket; the rolling stool is an upgrade.
Occupational ergonomics research from the University of California has shown that sustained awkward postures (bent backs, twisted knees) significantly increase risk of musculoskeletal disorders over time. You don’t need a full lab to feel that—just a long weekend of planting—but the data backs it up.
Step 7: Safety and Storage of Chemicals (The Unsexy but Crucial Bit)
This is where I see a lot of gorgeous Instagram-worthy setups fail hard.
What I now do, after some early mistakes:
- Lockable cabinet for any fertilizers, pesticides, herbicides.
- Clear labels with original packaging or copies of instructions inside a zip bag.
- Separate shelf for organic pest controls vs harsher chemicals.
Even organic products can be harmful in high doses or to pets. The U.S. Environmental Protection Agency (EPA) has repeatedly highlighted accidental poisonings from mishandled garden products—something I take seriously now that friends bring kids over.
If you can, keep chemicals out of direct sun and away from moisture. I ruined a full bottle of organic fertilizer by leaving it in a hot, damp shed. It fermented. The smell was… impressive.
Step 8: Make It Beautiful Enough That You Actually Use It
My first work corner technically worked, but it felt like a utility closet. I didn’t want to be there.
Once I:
- Painted the backboard a muted sage green
- Added two wall planters with herbs
- Hung a vintage metal sign I found for $5
…I started just…hanging out there. Drinking coffee, planning beds, cleaning seeds.
Form really does feed function. A few things that look great and work hard:
- Terracotta pots stacked by size (visual & practical)
- Matching jars or tins for labels, twine, and clips
- A simple peg rail with wooden-handled tools on display
The truth is, a beautiful workspace is a used workspace. And a used workspace usually means a more cared-for garden.
What I’d Do Differently If I Were Starting From Scratch Again
To stay honest, here’s what didn’t work for me:
- Overbuilt storage: I added too many shelves and ended up filling them with junk. Now I plan storage around specific categories: soil, tools, chemicals, pots.
- Tiny paths: I left only 18 inches between bench and fence. Nightmare. Go for 30–36 inches if you can; wheelbarrows and two people need that.
- Ignoring drainage: One corner puddled every time it rained. I eventually bit the bullet and added a French drain and gravel. I’d do that on day one now.
If you’re starting small, that’s perfectly fine. My most productive setup was literally:
- A simple cedar bench
- A hook rail
- One storage cabinet
But it was thought through—and that made all the difference.
Final Thoughts: Build for the Gardener You Are, Not the One on Instagram
Your garden workspace doesn’t need to be magazine-perfect. It needs to:
- Match your actual gardening habits
- Protect your tools and your body
- Handle mess gracefully
- Feel like a place you want to spend time
When I finally leaned into that—messy soil bins, honest scratches on the bench, labeled jars with crooked handwriting—my garden started thriving. Because I was out there more, doing the small daily things that matter.
Start with one corner. One bench. A few hooks. Then let the space grow with you and your garden.
Sources
- Royal Horticultural Society – Garden tools: care and maintenance - Guidance & data on maintaining tools and extending their lifespan
- U.S. Department of Energy – LED Lighting - Overview of energy efficiency and longevity of LED outdoor lighting
- U.S. Environmental Protection Agency – Safe Use of Pesticides - Best practices and safety considerations for handling garden chemicals
- University of California Agriculture & Natural Resources – Gardening and Ergonomics - Ergonomic recommendations to reduce strain and injury while gardening
- CDC – Protect Yourself From Musculoskeletal Disorders - Research-based insights on posture, repetitive tasks, and injury prevention