Guide to Creating Versatile Makeup Looks for Any Occasion
like I had “nothing to wear” on my face.
When I finally sat down and tested what I actually used for different events – work, brunch, weddings, nights out – I realized one thing: you don’t need more products, you need versatile ones and a simple system.
This guide is that system.
I’ll walk you through the exact products, techniques, and little pro tricks I use to create multiple looks (no-makeup, office-polished, glam) from almost the same core routine.
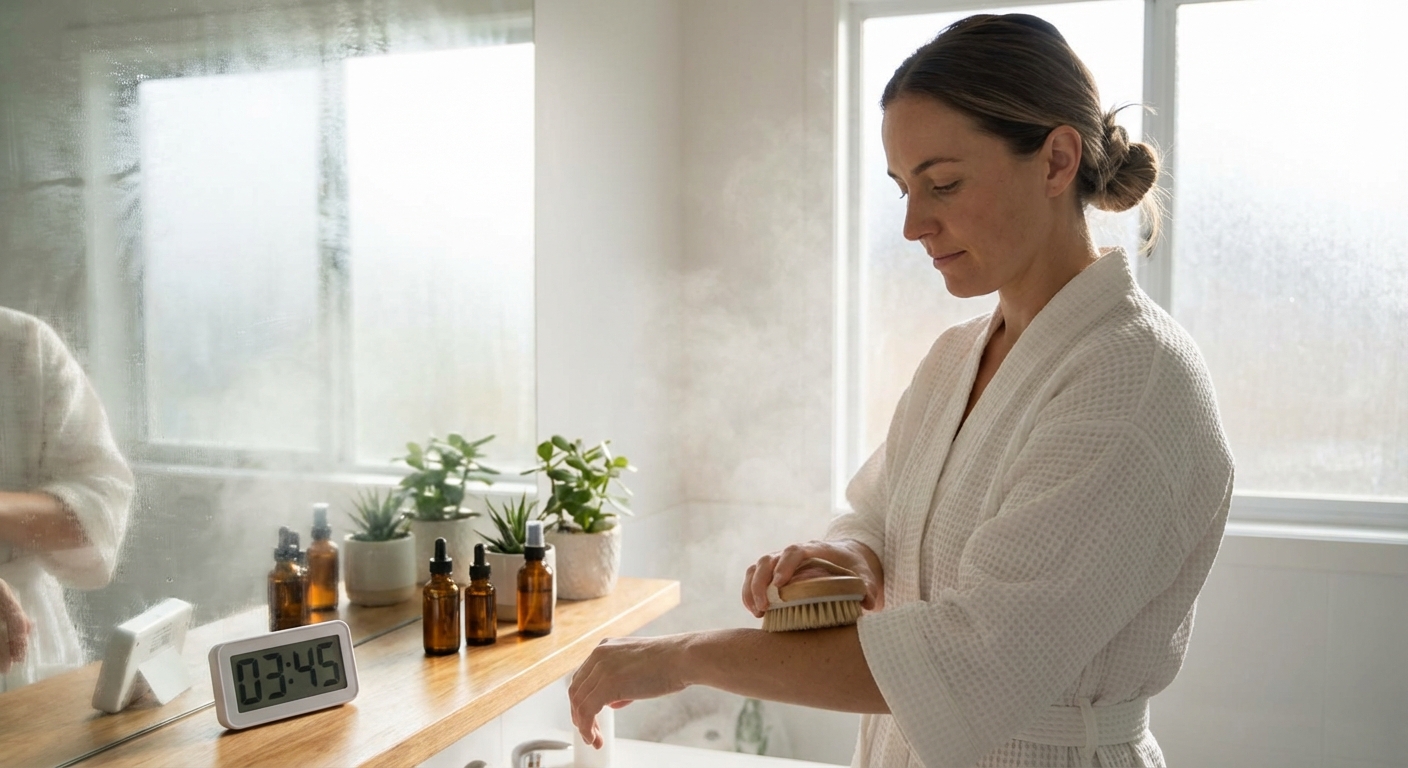
Step 1: Build a Flexible Base That Works Everywhere
I learned the hard way that heavy, full-coverage foundation looks flawless in bathroom lighting and weirdly mask-like in daylight. When I started doing makeup for events and content shoots, I switched to a more adaptable base.
Skin prep that actually matters
When I tested different routines side by side, the makeup that lasted longest always had the same foundation (no pun):
- Hydrating but not greasy moisturizer – I love gel-cream textures on almost all skin types.
- Targeted primer, not full-face plaster – I only prime the T-zone (pores and shine), not my whole face. Over-priming made my foundation separate.
Dermatologist Dr. Sam Bunting and others consistently emphasize that hydrated skin grips makeup better and looks more natural, and that matches what I’ve seen on clients and on myself.
The 3-base rule
My rule now is simple: I keep one main base product and use it three ways.
- Sheer day look: Mix a pea-size amount of foundation with moisturizer = DIY skin tint.
- Everyday medium: Dot foundation only where you need it (center of face, redness spots), then blend out.
- Event or nighttime: Use a slightly fuller layer only in targeted areas, then spot-conceal.
When I tried this vs applying full-coverage all over, people kept saying, “Your skin looks great,” not “Your foundation looks great.” That’s the goal.
Concealer as your secret weapon
For versatility, I always keep:
- One brightening concealer (slightly peach or pink) for under-eyes.
- One skin-tone concealer for blemishes or redness.
I’ve done full “no-makeup makeup” looks for photoshoots using only concealer and translucent powder. The trick is to apply less than you think and blend the edges into bare skin.
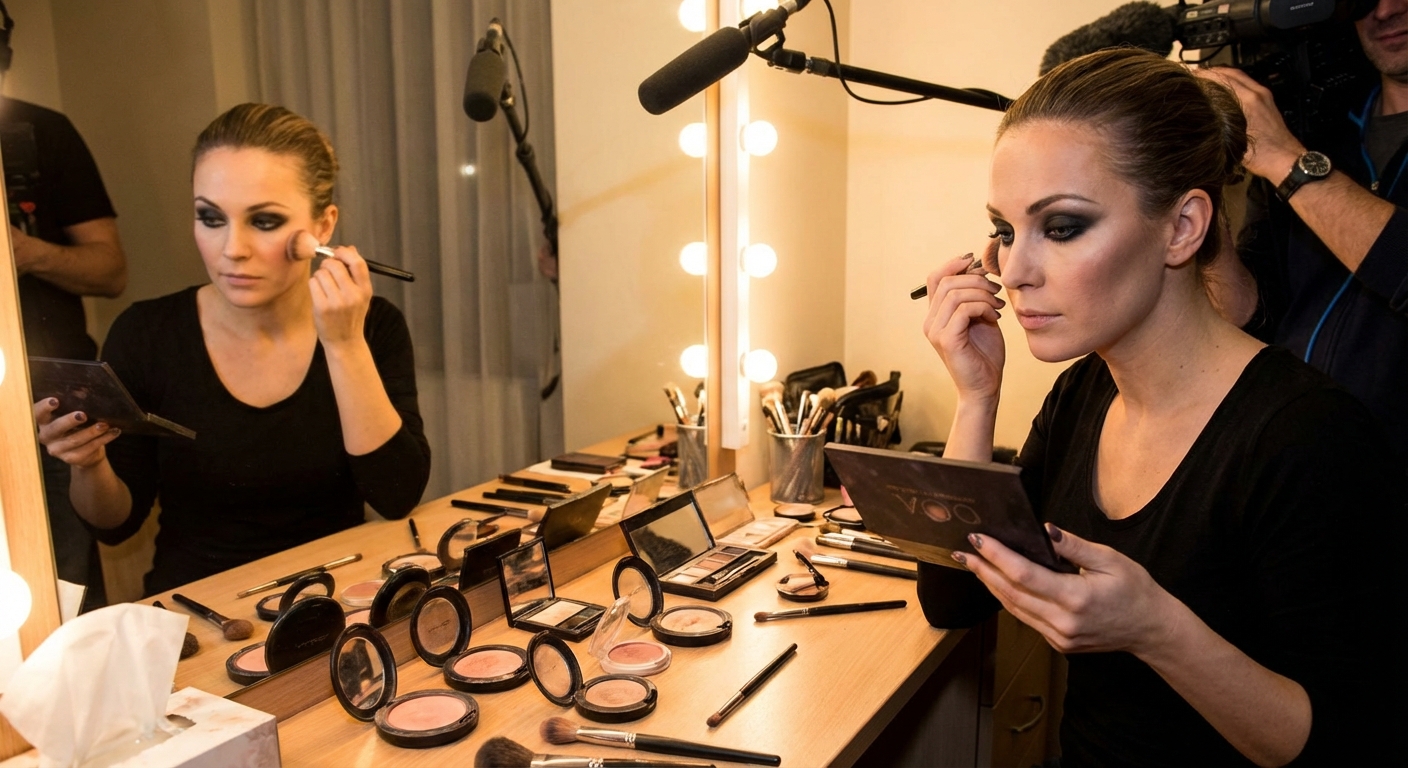
Step 2: One Face Chart, Three Intensities
When I’m planning looks for a full day – say, work, then dinner, then drinks – I think in layers, not separate looks.
The structure is always the same:
- Even out skin
- Add dimension (bronzer/contour, blush, highlight)
- Define eyes
- Define lips
The difference between “barely there” and “full glam” is just how much you build each step.
Dimension: from subtle to sculpted
In my experience, the most versatile trio is:
- A neutral bronzer
- A soft matte blush
- A sheen, not glitter, highlighter
I tested using separate contour, bronzer, and multiple blushes for events, and honestly, it was overkill for most faces and most cameras.
Try this layering system:
- Everyday/office: Light sweep of bronzer along hairline, under cheekbones, and a bit on the nose. One soft wash of blush on the apples blending upward.
- Day-to-night upgrade: Add a second light layer of bronzer a bit tighter under the cheekbones for more sculpt. Slightly more blush, focusing higher on the cheekbones.
- Glam: Use bronzer almost like a light contour (under cheekbones, jawline). Layer a bit of highlight on tops of cheeks, tip of nose, inner corner of eyes.
When I tested this step-up method, I could go from “Zoom meeting” face to “wedding guest” face in under 10 minutes without redoing my base.
Step 3: The Eye Formula That Works for Any Occasion
Eyes are where most people either overcomplicate or overcorrect. I used to pack full palettes, then use the same two shades anyway.
A makeup artist I assisted years ago told me: “You need a transition shade, a depth shade, and a shine. That’s it.” After doing this on dozens of faces, I believe her.
The 3-shadow strategy
Choose shades in your undertone family (cool, warm, or neutral):
- Transition shade – A matte shade slightly deeper than your skin tone.
- Depth shade – A deeper matte brown or taupe.
- Shimmer – A soft champagne, gold, or rose.
Here’s how I use them for different looks.
#### Look 1: Soft everyday eye
- Wash the transition shade lightly all over the lid and into the crease.
- Smudge the leftover shadow on the brush along the lower lash line.
- Curl lashes, add mascara.
This took me from “I woke up late” to “this was intentional” more times than I can count.
#### Look 2: Desk-to-dinner
When I tested this for post-work events, the key was adding depth only where needed:
- Deepen the outer corner with the depth shade, blending into the crease.
- Press a bit of shimmer on the center of the lid with your finger.
- Optional: tightline upper lash line with a brown or black pencil.
Suddenly it looks like you tried, without actually trying that hard.
#### Look 3: Full glam smoky
For nights out or photos, I build on the same base:
- Pack the depth shade closer to the lash line and outer third of the lid.
- Pull it slightly along the lower lash line for a smoky effect.
- Add shimmer to the inner third of the lid and inner corner.
I’ve tested this look in harsh flash photography, and it holds up because it’s structured but not muddy. The secret is keeping the darkest color closest to the lashes.
Liner and mascara tweaks
- Day: Brown pencil smudged at the lashes + one coat of mascara.
- Evening: Black pencil or gel liner, slightly winged + two coats of mascara.
- Glam: Tightline upper waterline, add a flick, and if your eyes can tolerate it, a touch of liner in the outer lower waterline.
If you have sensitive eyes (mine get annoyed easily), test any new waterproof formulas on a low-stakes day first. Some “24-hour” liners are incredible for longevity but can be a pain to remove and irritating for contact lens wearers.
Step 4: Lips That Transform the Whole Look
I didn’t believe how powerful lip color was until I filmed myself with the same face and three different lips. It honestly looked like three different days.
I keep a basic trio:
- MLBB (my-lips-but-better) shade – for everyday.
- Soft pink or peach – for fresh, romantic looks.
- Bold red or berry – for instant glam.
The lip wardrobe trick
With one neutral lip liner, you can create multiple looks:
- Sheer tint: Line softly, add tinted balm, smudge with finger.
- Polished: Fully line, add cream lipstick, blot once.
- Statement: Sharpen the liner, define the cupid’s bow, apply bold color with a brush.
When I tested matte vs cream formulas for long events, I noticed:
- Cream lipsticks look more forgiving and lived-in but need touch-ups.
- Mattes and liquid lipsticks last longer but can look cracked if your lips are dry.
I usually do a thin layer of balm, blot it off, then apply matte lipstick – it’s the only way I’ve survived an entire wedding reception without my lips disintegrating.
Step 5: Adapting for Different Occasions
Here’s how I tweak the same core routine.
For work or school
When I tested what actually looked appropriate under harsh office lights:
- Sheer to medium base
- Soft bronzer and blush, no harsh contour
- Simple eye (just transition shade + mascara)
- Neutral or MLBB lip
It reads polished but not “Why are you so dressed up for 9 a.m.?”
For brunch, dates, or daytime events
I’ll usually:
- Keep the base light but glowy
- Add a little more blush (it looks so good in natural light)
- Add shimmer on the lid and inner corner
- Go for a soft pink/peach lip
This combination survives sunlight, selfies, and close-up conversations.
For weddings, parties, and nights out
- Slightly more coverage, but focused in the center of the face
- Stronger bronzer and blush, with a bit of highlight
- Defined eyes: depth shade, shimmer, liner, extra mascara
- A bolder lip (even if it’s just a deeper nude)
I always set the T-zone with powder and mist the whole face with a setting spray. There’s good data showing that oil and sweat break down makeup, so anything that helps control that in the center of the face makes a huge difference on camera and in person.
Pros, cons, and honest limitations
What I love about this versatile system:
- You need fewer products, but get more looks.
- It’s buildable – you can always add more later.
- It works on different face shapes and ages; I’ve used a variation of this on friends from 19 to 55.
What’s not so perfect:
- If you love extreme graphic or editorial looks, this is more of a base, not the final destination.
- Truly oily or truly dry skin may need extra steps (more strategic powdering, richer moisturizer, blotting papers).
- Some trends (like chrome lids or super overlined lips) don’t always translate well into a “versatile” routine – they’re more occasion-specific.
But if your goal is: “I want a routine I can tweak for pretty much any occasion without re-learning makeup from scratch every time” – this style of layered, buildable look has worked amazingly for me and for a lot of faces I’ve worked on.
If you’re not sure where to start, try this experiment: pick one base, one bronzer, one blush, one highlight, one small eyeshadow quad, one liner, one mascara, and three lip products. Use only those for a week. By day three, you’ll know exactly how versatile your products really are.
Sources
- Harvard T.H. Chan School of Public Health – Sun Exposure and Skin Health - Background on skin health and protection, crucial for how makeup sits and ages on the skin.
- American Academy of Dermatology – How to Apply Makeup So It Lasts - Dermatologist-backed tips on prepping skin and making makeup last.
- Mayo Clinic – Sensitive Skin: Tips for Choosing Cosmetics - Guidance on products and ingredients for sensitive or reactive skin.
- NYTimes – The Minimalist’s Guide to Makeup - A practical take on paring down products to a functional, versatile kit.
- FDA – Cosmetic Safety and Regulation - Official information on cosmetic safety, ingredients, and consumer guidance.