Guide to Makeup Products for Daily and Events
abinet bullied me back with clutter. Over the last few years, I’ve slowly built one flexible kit that works for quick Monday Zoom calls and full-glam Saturday nights.
This is the guide I wish I had when I started: real products categories, what actually matters, what really doesn’t, and how to dial a look up or down without needing 47 palettes.
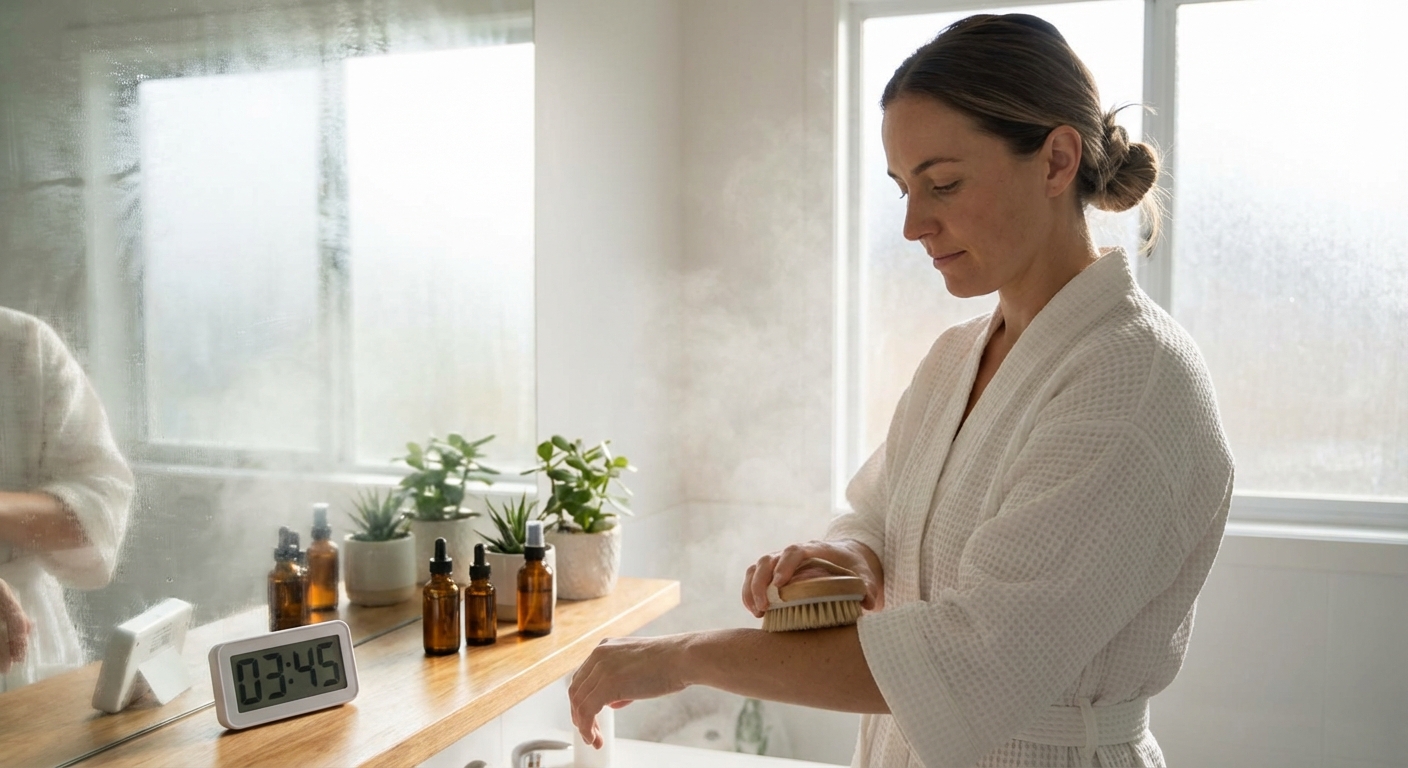
Step 1: Skin Prep That Works Harder Than Your Foundation
In my experience, makeup lives or dies on skin prep. When I tested the same foundation on dry, unprepped skin vs well-prepped skin, the difference was wild – one looked patchy and tired, the other looked like my face had a soft-focus filter.
Daily: I keep it minimal:- Gentle cleanser
- Hydrating, non-greasy moisturizer
- Broad-spectrum sunscreen SPF 30+ (this is non‑negotiable)
Dermatologists and the American Academy of Dermatology repeatedly point out that UV damage is responsible for up to 80% of visible skin aging over a lifetime, which is why I treat sunscreen as my true “base.”
Events: I add:- A hydrating primer on normal to dry areas
- A mattifying, pore-filling primer just on the T-zone (not all over – that’s how you get that weird mask-y texture)
When I layered three different “glow” products under foundation for a wedding once, my makeup slid off my nose by hour three. Now I follow a simple rule: one glow product under, one on top of foundation max.
Step 2: Base Products – Everyday Skin vs Event Skin
Tinted SPF, Skin Tints & Light Coverage (Daily)
On regular days, I reach for:
- Tinted sunscreen or skin tint with sheer coverage
- Lightweight, hydrating formulas with skincare ingredients like niacinamide or hyaluronic acid
The goal is “my skin but more rested,” not “I’m wearing foundation.” Lightweight formulas also crease less if you’re on calls, commuting, or touching your face a lot.
Pros: natural, comfy, skin-like, fast to apply with fingers. Cons: won’t fully cover strong redness, hyperpigmentation, or breakouts.Medium to Full Coverage Foundations (Events)
When I tested foundations for long events (8+ hours, dance floor, flash photography), the ones that lasted had a few things in common:
- Medium-to-full coverage
- Satin or natural matte finish
- Long-wear or “transfer-resistant” claims
Look for non‑flashback formulas (avoid heavy physical SPF + certain silica-heavy powders in event photos). I always do a flash test at home: foundation on, powder on, take a photo with flash. If I look like a ghost, that product is benched for events.
Pro tip I learned the hard way:- Daily: apply with fingers or a damp sponge for sheerer coverage.
- Events: apply with a brush first for more coverage, then bounce a damp sponge over the top to melt it into the skin.
Step 3: Concealer – Strategic, Not Heavy
For everyday, I use a creamy, medium-coverage concealer just where I need it: under the eyes, around the nose, and on any blemishes.
For events, I keep two concealers:
- A peachy/neutral corrector for dark circles
- A slightly lighter shade for brightening the center of the face
When I skipped corrector and just piled on bright concealer, my under-eye area looked gray and tired in photos. Color correction under intense lighting really does matter.
Daily: Dab, blend with fingers, barely set. Events: Blend with a brush/sponge, lightly set with finely milled powder to avoid creasing.Step 4: Brows – The Quiet Game-Changer
If I only have 3 minutes before a call, I reach for brow products. Polished brows instantly make the whole face look more put together.
Daily brow options I actually use:- Tinted brow gel: for already-full brows that just need shape.
- Micro-brow pencil: to fill sparse areas with hair-like strokes.
- Pencil for structure
- Brow powder or pen for density
- Clear or tinted gel to lock hairs
One time I skipped brow gel at a summer outdoor event and saw my brows slowly slump downward in photos as humidity rose. Now I treat strong-hold gel like hairspray for my face.
Step 5: Eyes – From 2-Minute Wash to Full Glam
Everyday Eye Looks
For daily makeup, I rely on cream eyeshadows or neutral powder quads:
- One matte shade slightly deeper than my skin tone in the crease
- A soft shimmer or satin on the lid
- Brown pencil smudged at the lash line
When I tested cream shadows for office days, the long-wear, budge-proof formulas outlasted my powder shadows on oily lids every time.
Eyeliner (daily):- Brown or charcoal instead of stark black
- Tightline (lining upper waterline) to intensify lashes without a visible thick line
Event Eye Looks
For events, I go more intentional:
- Transition shade in the crease
- Deeper matte on the outer corner
- Metallic or shimmer on the center/inner lid for dimension
If I’m doing a smokey eye, I start with a cream base (like a dark pencil smudged out) and set with powder shadows on top. This layering is what stopped my smokey eyes from creasing by hour four.
Event eyeliner:- Gel or liquid liner for defined wings
- Waterproof formulas if there’s any chance of tears, sweat, or humidity
One honest con: waterproof liners can be harder to remove and may irritate sensitive eyes. I always keep an oil-based remover and go gentle – no rubbing.
Step 6: Mascara – Tubing vs Traditional
When I tested different mascaras for long days and events, tubing mascaras (that form polymer “tubes” around lashes) won for:
- Zero smudging on oily skin
- Easy removal with warm water and gentle pressure
- One coat of lengthening
- One coat of volumizing on top
I love false lashes for events, but I’m honest about the downside: they can feel heavy, lift at the inner corners, and if applied badly, they age the look instead of elevating it. When I want drama without the fuss, I use individual or cluster lashes at the outer corners – much more forgiving.
Step 7: Face Color – Blush, Bronzer, Highlight
Everyday
Daily, I lean on cream blush and cream bronzer:
- Faster than powders
- Blend easily with fingers
- Give that “skin from within” look
Research on color psychology in cosmetics (small-scale but interesting) suggests that soft pinks and peaches are often perceived as healthier and more energetic, which honestly matches what I see in real life. On tired days, peach blush saves me.
Events
For events, I layer:
- Cream blush first
- Powder blush on top in the same tone
This combo actually stayed through a 10-hour summer wedding I attended, photos and all.
Bronzer:- Daily: light, almost imperceptible warmth
- Events: light sculpting under cheekbones, jawline, and temples (avoiding harsh lines)
- Daily: subtle cream highlight on high points – looks like healthy skin, not glitter.
- Events: powder or liquid highlight layered for a stronger reflect, but I keep it targeted (cheekbones, Cupid’s bow, inner corners). I learned not to highlight the tip of my nose too much after seeing a few photos where my nose was the brightest point in the frame.
Step 8: Lips – A Wardrobe, Not Just One Shade
Over time I built a small lip wardrobe instead of hoarding 20 similar pinks I never wear.
Daily lip options that are actually practical:- Tinted balms
- Sheer lipsticks
- Lightweight glosses
These are forgiving when they wear off and easy to reapply without a mirror.
Events:- Long-wear liquid lipsticks for bold shades (red, berry, deep rose)
- Cream bullet lipsticks with matching lip liners for a more comfortable feel
From trial and error, I learned:
- Long-wear mattes can be drying and crack if lips aren’t prepped (scrub + balm, then blot before applying color).
- Super glossy finishes look great in person but can travel, especially in heat or humidity.
So now I ask myself: Will I be eating, drinking, or talking a lot? If yes, I pick a more matte or satin formula and keep gloss minimal.
Step 9: Setting – Make It Last (Without Looking Cakey)
The two products that changed both my daily and event looks:
- Finely milled translucent setting powder
- Setting spray (alcohol-free or low-alcohol when possible)
- Light powder after base
- Color products (bronzer, blush, highlight)
- Powder again only where shine needs controlling
- Setting spray to meld everything together
I’ve worn this combo through sweaty dance floors and outdoor ceremonies; my makeup didn’t look perfect at the end, but it still looked intentional.
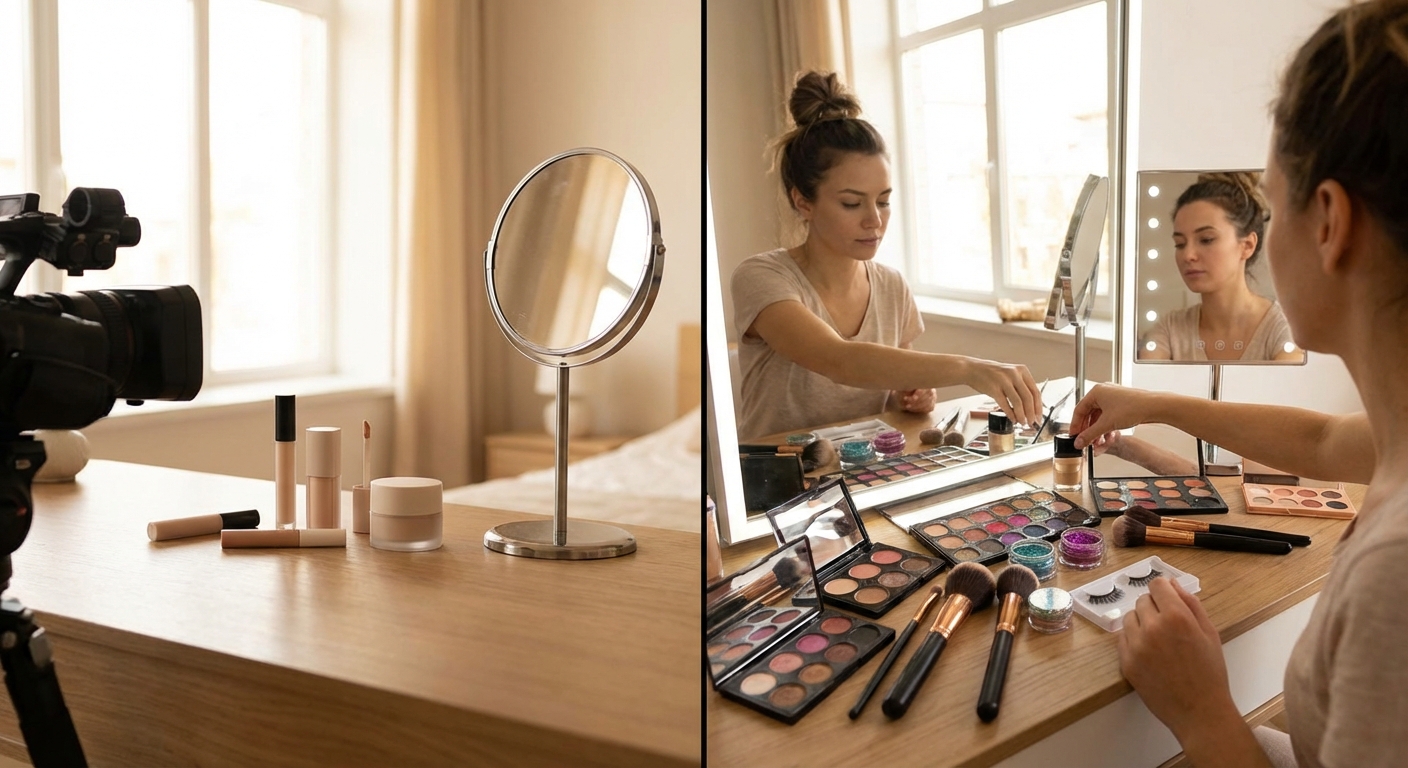
Building a Flexible Kit: What You Actually Need
If you want a focused kit that works for both daily life and events, this is the core I recommend based on what I reach for the most:
- Tinted SPF or skin tint
- One medium-coverage foundation
- One multi-purpose concealer
- Cream blush + powder blush
- Bronzer (cream or powder)
- Neutral eyeshadow quad or small palette
- Brown and black eyeliner
- Everyday mascara + more dramatic/event mascara (or just one that does both)
- Brow pencil and gel
- Tinted balm, nude lipstick, and one bold shade
- Setting powder and setting spray
From there, you can slowly add “fun” items: highlighters, colored liners, extra palettes. But this core set will carry you from grocery runs to black-tie events.
Final honest note: no product is magic. I’ve tested hyped launches that creased in 30 minutes and drugstore finds that outperformed luxury brands. The sweet spot is knowing your skin type, your lighting (office vs stage vs flash), and your tolerance for touch-ups. Once you know those, picking daily vs event products becomes way less confusing – and your makeup bag will finally close again.
Sources
- American Academy of Dermatology – Sunscreen FAQs - Evidence-based guidance on sun protection and skin aging
- Harvard T.H. Chan School of Public Health – Skin Health and Sun Protection - Overview of UV damage and protective habits
- Mayo Clinic – Cosmetics: Risky Beauty - Balanced look at cosmetic use, safety, and skin reactions
- Allure – What Is Tubing Mascara? - Industry-focused explanation of tubing mascara technology and benefits
- NYU Langone Health – Choosing the Right Makeup for Your Skin Type - Dermatologist-backed advice on matching products to skin needs