Guide to Pre-Listing Home Preparation Steps Before Selling a House
days, and buyers kept saying the same thing: “We like it, but…”
That “but” cost me thousands.
Since then, I’ve helped prep and review dozens of listings as both a homeowner and a real estate consultant, and I’ve tested pretty much every pre-listing trick you see online. Some are magic. Some are a total waste of money.
Here’s the step‑by‑step, no‑fluff guide I wish I’d had: a real-world guide to pre-listing home preparation steps before selling a house that actually moves the needle on price and days on market.
Step 1: Start With a Ruthless Walkthrough (and Outside Opinions)
In my experience, owners are the worst judges of their own homes. You stop seeing the scuffed baseboards, the cat smell, the tiny crack in the ceiling.
What I do now, every time:
- Walk the property like a buyer.
- Park on the street.
- Walk up the front path while pretending you’ve never seen the place.
- Take notes on your phone. No editing. Just raw first impressions.
- Invite one brutally honest friend.
I once brought in a friend who said, “This bathroom smells like college.” Rude. Also accurate. That comment triggered a cheap mini-reno that made that listing actually competitive.
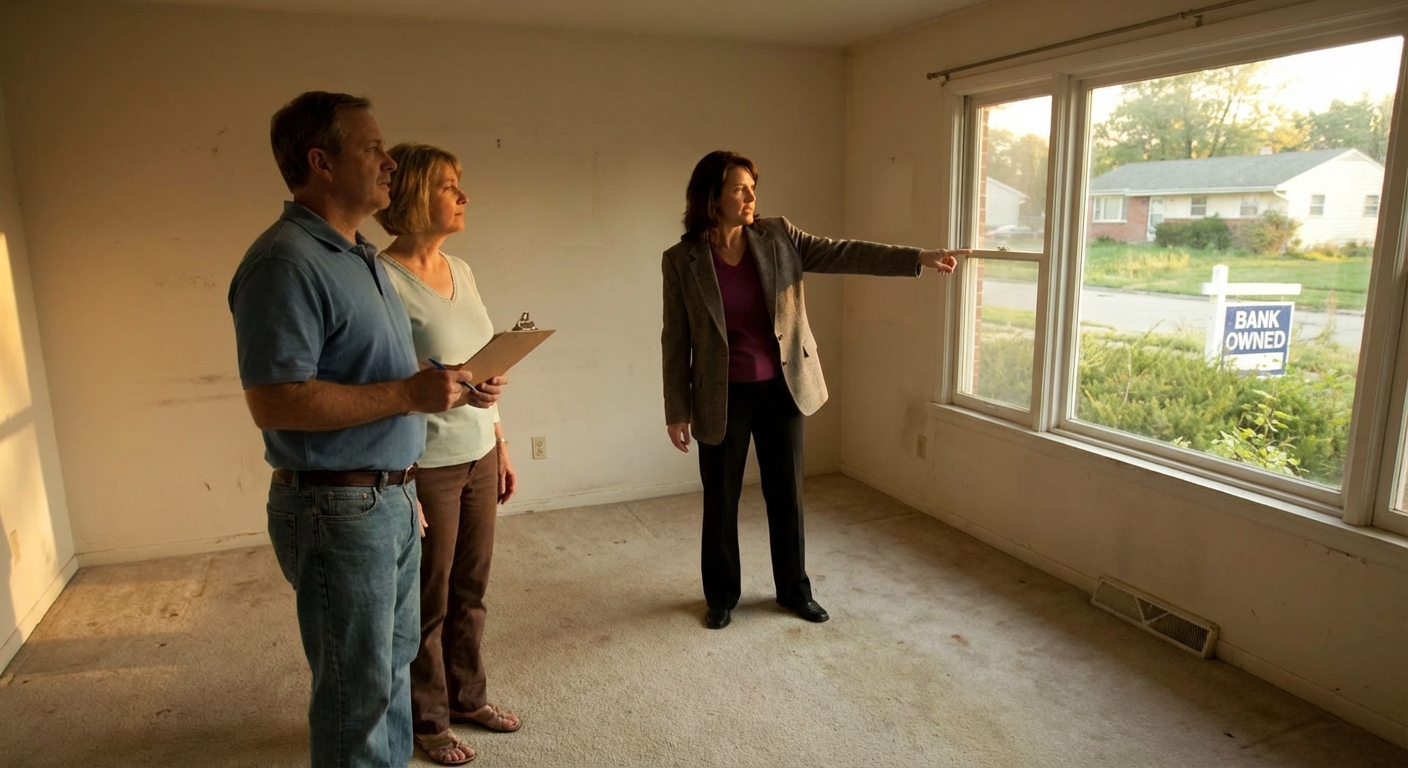
- Ask a local agent before you start spending.
A good listing agent will do a pre-listing consultation, often free. I’ve had agents tell me not to do a $12,000 kitchen upgrade because the neighborhood comps wouldn’t support it. That advice alone saved my profit margin.
Look for patterns in feedback: odors, clutter, dark rooms, outdated fixtures, worn flooring. Those are your priority areas.
Step 2: Fix, Don’t Hide – Smart Repairs That Pay Off
I tested two approaches once: one property I patched and staged over problems, the other I actually fixed. Guess which one triggered a long inspection report and a nervous buyer?
According to the National Association of Realtors (NAR), 41% of buyers say they’re most concerned about hidden issues in a home. That anxiety shows up as lower offers.
High-ROI repair categories I now focus on:- Safety & structure:
- Leaky roof spots
- Loose handrails or stairs
- Electrical outlets that don’t work or lack GFCI in wet areas
- Any sign of water intrusion or past leaks
- Functionality:
- Sticking doors and windows
- Running toilets, dripping faucets
- Broken or missing tiles
- HVAC that sounds like a jet engine
- Inspection landmines:
In one house, a $450 pre-listing electrician visit found double-tapped breakers and some sketchy DIY wiring. Fixing it before listing turned a potential buyer walkaway into a non-issue.
💡 Pre-listing inspection?
I’m a fan in markets where buyers are picky or where houses are older. The upside:
- You control the narrative.
- You can fix or at least price around issues.
The downside:
- You’ll likely need to disclose what you discover.
If you can’t fix everything, prioritize safety, then water, then anything visually obvious.
Step 3: Declutter and Depersonalize (But Don’t Sterilize)
I used to underestimate this step. Then I watched one of my listings go from “meh” feedback to “it feels huge” with nothing more than decluttering and rearranging.
Here’s the filter I use:
- Remove 30–40% of visible stuff.
If you’re not slightly uncomfortable with how empty it feels, you probably haven’t done enough.
- Hide personal and polarizing items.
- Family photos
- Sports team shrines
- Political or religious statements
Buyers need a neutral mental canvas. They’re imagining their life there, not decoding yours.
- Tame closets and storage.
A rule of thumb: aim for closets to be no more than 70% full. Overstuffed storage screams, “This house doesn’t have enough space.”
You don’t need a perfect Pinterest house. You just want “calm, spacious, and easy to imagine living in.”
Step 4: Clean Like It’s an Inspection, Not Just a Chore
When I tested professional cleaning versus “me and a weekend,” the difference in buyer comments was actually painful. People noticed.
I now budget for one deep professional clean right before listing. If money’s tight, I still recommend hiring out at least:
- Windows (inside and out)
- Bathrooms and grout
- Kitchen (including range hood and inside cabinets buyers will open)
Then, between showings, it’s just maintenance: wipe surfaces, empty trash, quick vacuum, and deal with pet evidence.
The things buyers absolutely notice:
- Smells (cooking, smoke, pets, musty basements)
- Dust on fan blades and vents
- Dirty baseboards and door frames
Mild, neutral scent > heavy artificial fragrance. Overly perfumed homes make buyers suspicious.
Step 5: Boost Curb Appeal – 7-Second Judgment Zone
There’s data to back up the gut feeling: a 2020 study in the Journal of Real Estate Finance and Economics found that first-impression factors (like exterior condition and landscaping) significantly influenced perceived value.
In my experience, you don’t need a full landscaping overhaul. Simple, high-impact upgrades:
- Fresh mulch and trimmed bushes
- Mowed lawn and edged walkways
- Repainted or power-washed front door
- New, modern house numbers
- Working exterior lights and a clean entry mat
On one property, I spent under $400 on mulch, a new mailbox, and a painted door. The listing photos looked like a different house, and we had three offers in the first weekend.
If your roof, siding, or driveway is filthy, a professional power wash can make the whole house look newer.
Step 6: Light, Color, and Minor Cosmetic Tweaks
I’ve watched buyers step into a dark living room and physically recoil a bit, even when the room was big. Light is emotional.
What I change almost every time:
- Bulbs: Match color temperature (2700K–3000K warm white is usually best) and replace dead or dim bulbs.
- Curtains: Open them wide or swap heavy drapes for lighter ones.
- Paint:
- Stick to light neutrals: soft whites, light greiges.
- Repaint scuffed walls and bold colors that might scare buyers.
NAR’s Remodeling Impact Report regularly shows painting as one of the highest joy and ROI projects. It’s relatively cheap and instantly modernizes a space.
Also worth it, when budget allows:
- Swapping dated brass or faux crystal light fixtures
- Updating yellowed switches and outlet covers
- Replacing extremely worn or stained carpet in key rooms
These are the things that make a home feel “move-in ready,” which often translates to stronger offers.
Step 7: Staging – Full, Partial, or DIY?
I’ve experimented with no staging, full pro staging, and a hybrid approach. The big pattern I’ve seen: empty rooms are surprisingly hard for most buyers to visualize.
According to NAR’s 2023 Profile of Home Staging:
- 58% of buyers’ agents said staging had an effect on most buyers’ view of the home.
- The most commonly staged rooms are the living room, kitchen, primary bedroom, and dining room.
Here’s how I decide:
- Hot market, move-in ready house:
- Often just needs light staging with your existing furniture + a few props (pillows, art, plants).
- Awkward layout or smaller space:
- Staging helps define how to use each area and makes rooms feel functional, not cramped.
- Vacant property:
- Full staging (or at least key rooms) can prevent that echo-y, cold feeling and gives scale.
DIY staging basics that consistently help me:
- Float furniture off walls to create conversation areas.
- Use larger art rather than lots of tiny pieces.
- Limit décor: books, plants, and a few neutral objects.
I’ve also learned where not to overspend: most garages, secondary bedrooms (unless they’re tiny and need help), and unfinished basements usually don’t need designer treatment.
Step 8: Pre-Listing Photos and Marketing Mindset
When I tested “okay” listing photos versus hiring a professional real estate photographer, the difference in click-through rates and showing requests was huge.
Think about it: for most buyers, your photos are the first showing.
What I now insist on:
- Professional photography with a wide-angle lens and good editing
- Twilight exterior shot if the home has strong curb appeal or nice lighting
- Floor plan when possible (buyers love this; it improves online engagement)
Before photos, I do a final pass: hide cords, remove countertop clutter, clear fridge magnets, straighten bedding, and check for reflections in mirrors and glass. I’ve seen more accidental photographer selfies than I care to admit.
Step 9: Know When to Stop Upgrading
This is the part almost nobody talks about honestly.
There’s a line where pre-listing prep goes from “smart investment” to “you’re renovating for someone else’s taste and not getting paid back.”
In my experience, upgrades that often don’t fully pay off right before listing:
- Full kitchen gut remodels in neighborhoods with modest comps
- Luxury bathroom overhauls in entry-level markets
- High-end landscaping beyond the general level of the area
What I do instead is run numbers with an agent or an appraiser:
- Current as-is value
- Likely post-upgrade value based on similar sold homes
- Actual cost of the work + your holding costs (mortgage, utilities, taxes, etc.)
If the likely price bump doesn’t clearly beat the cost plus hassle, I skip it.
The Real Goal of Pre-Listing Prep
After years of trial and error, I’ve stopped thinking of pre-listing preparation as “making the house perfect.” That’s a money pit.
The real goal is to:
- Remove obvious buyer objections
- Showcase space, light, and cleanliness
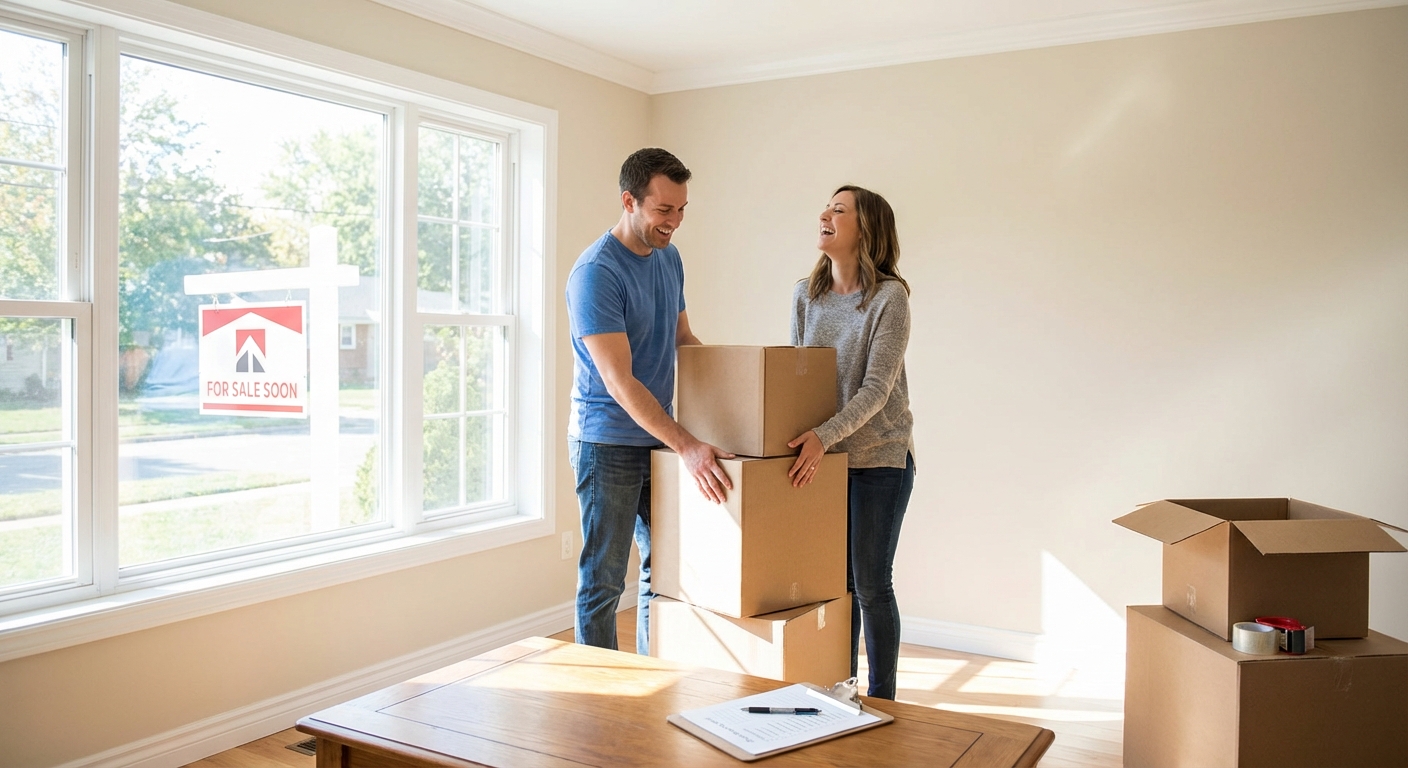
- Signal “well cared for” so buyers feel safe going strong on their offer
Some buyers will still want to update finishes. Let them. Your job is to present a home that looks loved, functions properly, and photographs like it belongs at the top of their search results.
And if you’re on the fence about where to start, that ruthless walkthrough and an honest chat with a seasoned local agent can save you from both overspending and undervaluing what you already have.
Sources
- 2023 Profile of Home Staging – National Association of Realtors - Data on how staging affects buyer perception and offers.
- 2022 Remodeling Impact Report – National Association of Realtors - Analysis of which pre-sale projects deliver the best ROI.
- Journal of Real Estate Finance and Economics: Curb Appeal and House Prices - Study on first impressions, exterior condition, and value.
- U.S. Department of Housing and Urban Development (HUD) – Selling Your Home - Government guidance on preparing and selling a home.
- Forbes Real Estate Council – Simple Upgrades To Boost Your Home’s Value Before Selling - Expert insights on cost-effective pre-listing improvements.