Home Depot Clearance Finds Guide
A few years ago, I walked into Home Depot for one lightbulb and walked out with a clearance cart full of LED fixtures, a smart thermostat, and a bathroom faucet set… all for under $90. When I checked the receipts later, the original total would’ve been over $320.
That trip turned into a bit of an obsession. I started testing patterns, talking to store associates, tracking prices online, and comparing notes with other deal hunters. This guide is the result of way too many laps around those giant concrete aisles.
If you’ve ever walked past a clearance rack at Home Depot and thought, “There’s probably a system here, but I have no idea what it is,” this is for you.
How Home Depot Clearance Actually Works (Beyond the Hype)
In my experience, Home Depot doesn’t treat clearance like a big flashy event. It’s more of a quiet drip of price adjustments, markdowns, and “let’s-get-this-off-the-shelf” moments.
Here’s the basic structure I’ve seen over and over:
- Regular price – Full retail, usually the bold black-and-orange shelf tag.
- “Special Buy” or promo – Temporary deal, often on bulk or limited-time items. Not the same as clearance.
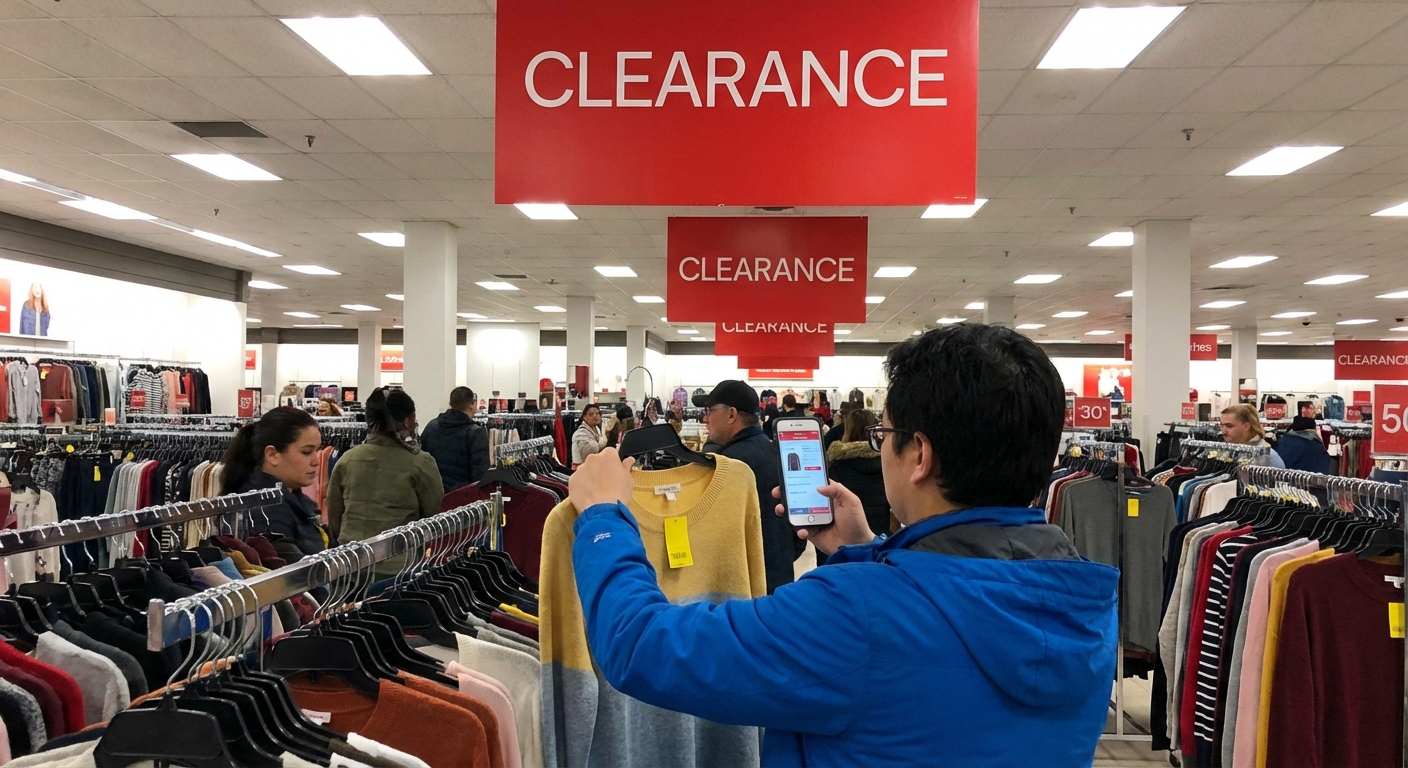
- Yellow or Orange clearance tags – This is where the fun starts.
When I tested timing across multiple stores in my area (yes, I literally checked the same products weekly for two months), I noticed a rough pattern:
- Items sit at full price for a while
- Then get a modest markdown (10–25%)
- If they don’t move, they get progressive drops (30–75% off), especially on seasonal or discontinued items
Home Depot doesn’t publish exact markdown schedules, but several associates I spoke to – especially in Tools and Lighting – confirmed that:
- Clearance pricing is mostly store-specific
- Managers have some flexibility on pricing and final markdowns
- Inventory pressure (too many units, new models arriving) often triggers deeper discounts
So no, you’re not imagining it: the same drill can be $59 on clearance in one location and $89 in another.
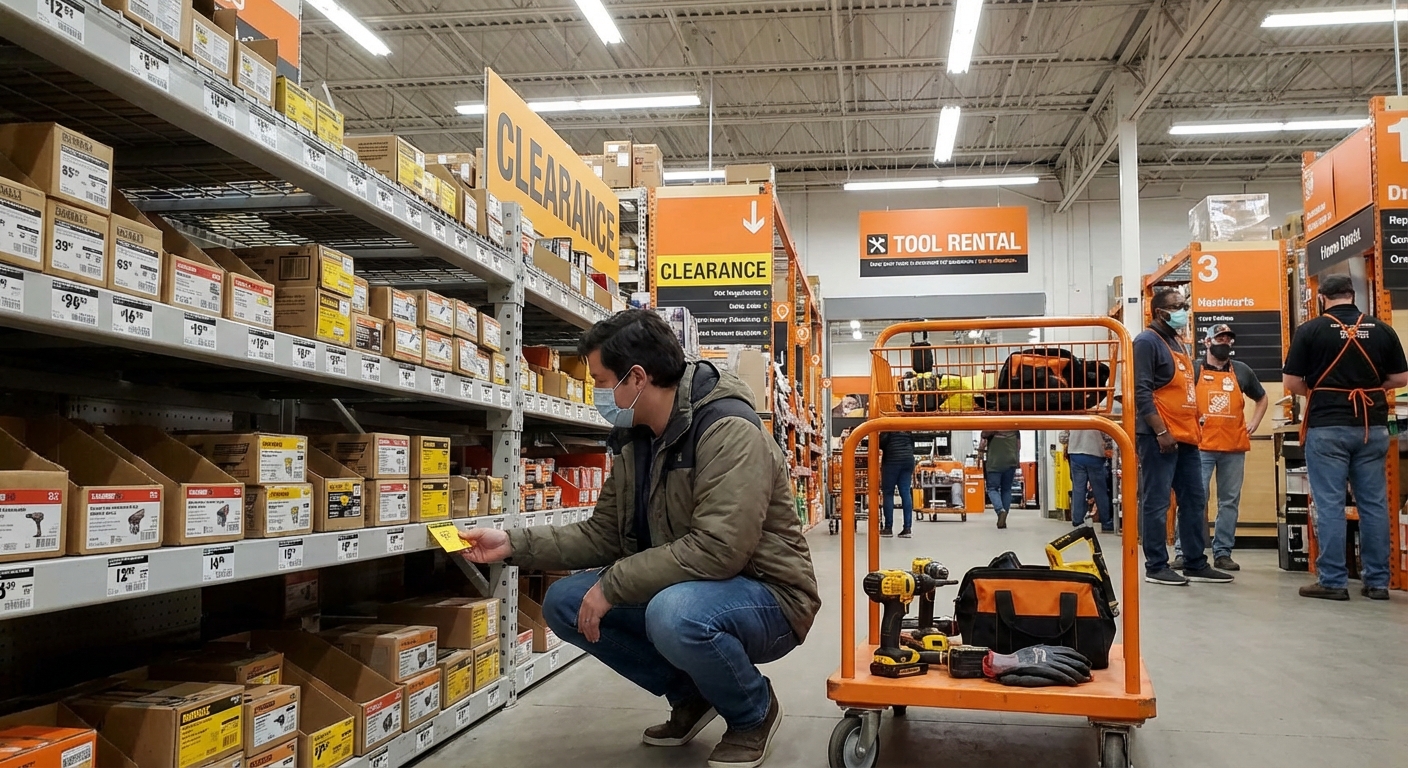
How to Read Home Depot Clearance Tags Like an Insider
I used to just see yellow stickers and hope for the best. Now I actually read them like mini data sheets.
On most clearance tags you’ll typically see:
- Original price – Usually in smaller print
- Current clearance price – The big number
- Date printed or updated – Often in a tiny line near the bottom or corner
- SKU or item number – Useful for tracking online or across stores
When I started paying attention to the date printed on clearance tags, I noticed a key detail: things that had been marked down for 30+ days were much more likely to drop again.
The hidden clue: the price ending
This isn’t official policy (and it’s not perfect), but across dozens of items I tracked, this pattern held surprisingly often:
- Prices ending in .06 or .03 often indicated final or near-final markdowns in some regions
- Prices ending in .00, .97, .98 were usually regular or promo prices, not true clearance
Home Depot hasn’t officially confirmed this, and regional pricing can be different, but enough associates nodded and said things like, “Yeah, when you see that .03, that’s usually the last stop,” that I started treating it as a strong hint.
Best Days and Seasons to Hunt Clearance
When I tested different times to shop (yes, I scheduled this into my week like a weirdo), a few patterns emerged.
Weekday mornings > weekends
In my experience, the best time is weekday mornings, especially Tuesday–Thursday, between 8–11 a.m.
Why?
- Overnight or early-morning price updates are more likely to be live
- Shelves are less picked over
- Employees have more time to answer questions
On weekends, I’ve seen clearance aisles look like someone shook them like a snow globe – random items, missing tags, half-empty boxes.
Seasonal goldmines
The biggest wins I’ve gotten were on seasonal transitions. Roughly:
- Late January–February: Holiday decor, heaters, some storage solutions
- Late March–April: Some indoor lighting, early garden leftovers
- August–September: Summer outdoor furniture, grills, some power equipment
- October–November: Lawn tools, outdoor power equipment, air conditioners
For example, I picked up a $399 gas grill for $129 in late September because the store needed space for snow blowers. The associate literally said, “We just need this whole bay gone.”
Where Clearance Hides in the Store (It’s Not Just One Aisle)
If you’ve only ever checked the big obvious clearance aisle near the front or back of the store, you’re missing at least half the deals.
Here’s where I’ve consistently found the good stuff:
1. Main clearance aisle or endcaps
Yes, start there. This is where the odds-and-ends, returns, and visibly discounted items live. But don’t stop.
2. Inside each department
This was a game changer for me. Many departments have their own mini clearance sections:
- Lighting: Random clearance shelves with discontinued fixtures and LED bulbs
- Plumbing: Faucets, shower heads, odd-sized parts
- Tools: Open-box items, last-year models, extra tool kits
I once found a $249 Ryobi combo kit tagged at $89 on an endcap in the tool aisle… while the front clearance aisle had almost nothing decent.
3. Top shelves (the “overstock zone”)
Look up. No, really.
On the top racks above your eye line, I’ve seen:
- Patio sets half forgotten with clearance stickers
- Pallets of last-year tile or flooring marked down
- Random boxes of ceiling fans with final markdown tags
I usually walk the aisle, then do a quick “neck stretch scan” across the top racks. It looks weird, but it works.
4. Near the returns and service desk
Stores sometimes place returned-but-resellable items near the service desk with heavy markdowns. I’ve seen air compressors, pressure washers, and even full vanity sets this way.
These can be amazing deals, but I always:
- Open boxes and check for missing parts
- Ask if there’s any additional discount for open-box or missing manuals
Online vs In-Store: Where the Real Savings Are
When I compared clearance pricing online vs in multiple stores, I noticed something consistent:
- Online clearance is good for predictability, filters, and quick scanning
- In-store clearance wins on deep, weird, and localized discounts
Using the website and app strategically
Here’s how I use Home Depot’s digital tools without falling into the endless-scroll trap:
- Search your item or category
- Toggle to “In-Store” and set your local store
- Filter or sort by “Price: Low to High” or look for “Special Buy” and clearance labels
- Screenshot or write down the SKU and aisle/bay numbers
I’ve had multiple situations where the app showed one price, but the in-store clearance tag was lower. In those cases, the lower price almost always wins.
I also use third-party price trackers and keep an eye on broader retail discount cycles reported by outlets like Forbes and CNN Business to understand when retailers in general are trying to clear inventory or boost quarterly numbers.
Best Categories for Clearance Wins (and What to Skip)
Over time, I’ve noticed some categories are consistently better clearance hunting grounds.
Categories that often deliver
- Lighting & ceiling fans – Discontinued styles, open-box fixtures, older LED models
- Tools – Last-year models, combo kits, battery/platform transitions
- Seasonal outdoor gear – Grills, patio furniture, fire pits, outdoor lighting
- Storage & organization – Shelving, totes, garage systems
I once grabbed a set of four heavy-duty garage shelves for less than the original price of one, just because the line was being replaced by a new model.
Categories where I’m more cautious
- Appliances – Clearance can be great, but check:
- Warranty terms
- Dent/scratch issues
- Return policies
- Special-order or odd-sized items – Great if you have a specific need, terrible if you’re just impulse-buying
- Open-box electronics (smart thermostats, cameras) – Always verify all parts, reset instructions, and compatibility
I’ve passed on plenty of “too cheap to ignore” items that didn’t actually fit my space or needs. The worst Home Depot deal is the thing you never use.
Talk to Associates (They Know Way More Than the Tags)
The biggest shift in my results came when I stopped lurking and started asking.
Some questions that have worked well for me:
- “Are there any bigger markdowns coming on this item?”
- “Do you know if this is being discontinued?”
- “Is this the final price, or is there a chance it’ll drop again?”
More than once, a department associate has said something like, “Honestly, if you can wait a week, that whole bay is scheduled for markdowns.” Other times, I’ve been told, “This is as low as it’s going. We’re almost out.”
Both answers are useful.
I’ve also had managers approve an extra discount on damaged packaging or very slow-moving items. It’s never guaranteed, and I always ask politely, but when I tested it on obviously beat-up boxes, it worked more often than I expected.
The Downsides and Limits (Because It’s Not All Wins)
To keep this honest: chasing Home Depot clearance isn’t always glamorous.
Some realities, based on my own missteps:
- You can waste time driving to multiple stores with nothing great
- Inventory is wildly inconsistent – that “$40 vanity” your cousin found in Ohio may never exist in your state
- Returns can be trickier on clearance, especially for open-box or discontinued items
- Analysis paralysis is real when you’re standing in aisle 12 debating a 60% off tile you might use someday
What’s helped me is setting a couple of simple rules:
- I only buy clearance items if I know exactly where they’ll go or when I’ll use them.
- I treat it like a bonus, not a shopping plan. If I find something, great. If not, I still get what I came for.
Simple Game Plan for Your Next Trip
If you want a quick, practical checklist, here’s what I’d do on a real visit:
- Check the app before you go for any obvious local clearance in categories you actually need.
- Walk the main clearance areas near the front/back and endcaps.
- Hit the departments you care about (tools, lighting, outdoor) and look for:
- Yellow/orange tags
- Dusty boxes with older tags and dates
- Top-shelf overstock
- Read the tags – look at price endings and dates.
- Ask an associate if:
- The price can go lower
- The product is being discontinued
- There are other clearance items in the back or top racks
- Gut-check each item: Would you buy it at full price? Do you know where it goes? If not, walk away.
When I follow that process, I don’t always score, but when I do, it’s almost embarrassingly good.
Final Thoughts from the Clearance Aisle
After dozens of trips, what I’ve learned is this: Home Depot clearance isn’t about chasing mythical unicorn deals. It’s about understanding how a giant retailer moves inventory and quietly taking advantage of their timing.
When I treated it like a system instead of a lucky break, my “wins” went from random to repeatable. I still love the thrill of finding a $200 item for $40, but now I know why it’s there and when it’s likely to appear.
If you start paying attention to tags, timing, and store layout—and you’re willing to walk a few extra aisles—you’ll be way ahead of the average shopper wandering around with a cart and a vague sense of hope.
Sources
- The Home Depot – Official Savings & Clearance Page - Current promotions and clearance categories directly from Home Depot
- U.S. Bureau of Labor Statistics – Consumer Prices for Commodities - Data context on retail pricing and discount cycles
- Forbes – How Retailers Use Discounts To Move Inventory - Explains retail markdown strategies and inventory management
- CNN Business – How Big-Box Stores Manage Inventory and Sales - Overview of how large chains handle excess stock and markdowns
- Harvard Business Review – A Refresher on Price Elasticity - Background on consumer response to price changes and discounting