Home Security Systems: Features and Setup Guide
n. That night I deep-dived into home security systems like a man possessed. Since then, I’ve installed, tested, and broken (sometimes literally) enough gear to feel like a part‑time security consultant.
This guide is the article I wish I’d had when I started.
Why a Home Security System Is More Than Just an Alarm
When I first started researching, I thought a security system was basically: door sensor + loud siren = done. That’s…adorable, but very incomplete.
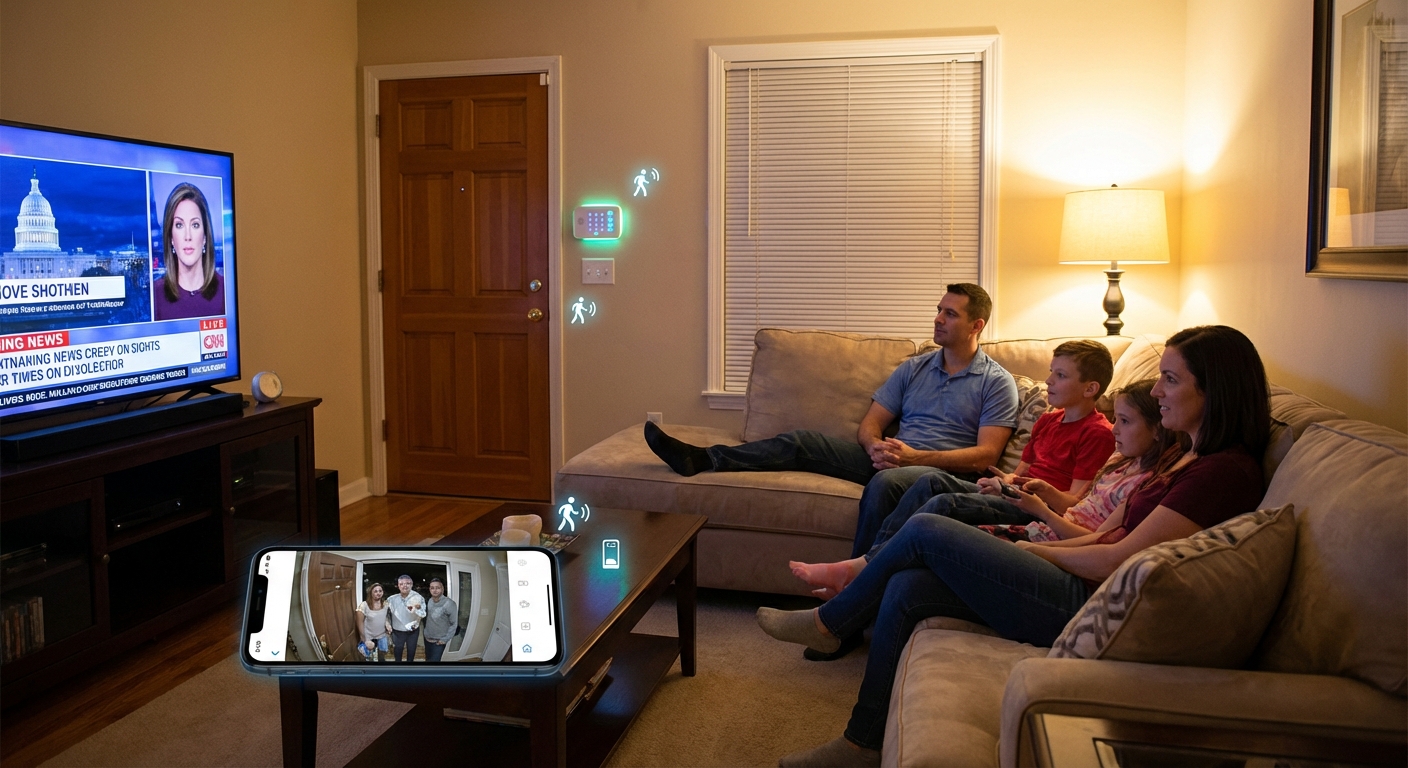
Modern home security systems are more like a layered defense strategy:
- Deterrence: visible cameras, yard signs, motion lights
- Detection: sensors, cameras, glass-break detectors
- Response: push alerts, sirens, professional monitoring
FBI data has consistently shown that homes without security systems are more likely to be targeted. The Electronic Security Association has cited research indicating that about 60% of convicted burglars say they’d skip a house if they saw an alarm system in place.
Once I added cameras and smarter lighting, I noticed something weird: random door-knockers and "flyer guys" stopped coming as often. That subtle behavior shift was my first hint the system was actually working.
Core Features You Actually Need (and What’s Overkill)
When I tested my first system, I went overboard. I had sensors on everything except the fridge (which, honestly, might’ve been useful). After a few months of living with beeps, alerts, and low-battery warnings, I trimmed it down to what genuinely matters.
1. Entry Sensors (Doors and Windows)
These little two-piece magnetic contacts are boring but critical. In my experience, every exterior door needs one, plus ground-level windows that actually open.
Look for:
- Long battery life (3–5 years is common on reputable brands)
- Tamper alerts if someone pops the cover
- Simple “open/closed” history in the app
Pro tip from my own mistake: don’t place window sensors too close to metal frames or they can misread the magnet and throw false alerts.
2. Motion Sensors
When I tested motion sensors, I learned two things fast: 1) placement is everything, 2) pets will absolutely test your patience.
Options:
- PIR (Passive Infrared): detects changes in heat and movement; common in most systems
- Pet-immune sensors: ignore smaller animals (usually under 40–80 lbs), if positioned correctly
What worked best in my home:
- One motion sensor in the main hallway that most rooms connect to
- Another covering the living room and back door
Avoid pointing them directly at windows (sun + moving curtains = chaos) or heat sources like radiators.
3. Security Cameras (Indoor & Outdoor)
I recently upgraded my cameras from 1080p to 2K, and the difference in clarity—especially for faces and license plates—was dramatic.
Features that actually matter:
- Resolution: 1080p is fine, 2K is better, 4K if you have the bandwidth and storage
- Field of View (FOV): 110–130° usually covers a porch or driveway well
- Night vision: true IR night vision; color night vision is a solid bonus
- Smart detection: person, vehicle, and package detection cut way down on junk alerts
I tested one budget camera that sent an alert every time a tree branch moved. I turned off notifications after two days—which is exactly what you don’t want from security hardware.
4. Smart Locks & Access Control
The first time I connected a smart lock, I half expected it to fail and trap me outside. Instead, it quietly became one of the most used devices in my house.
What stood out:
- Temporary PINs for dog walkers, cleaners, or guests
- Auto-lock after a set time (saved me multiple 2 a.m. “Did I lock the door?” trips)
- Clear logs: “Door unlocked by Code 3 at 2:14 p.m.” is incredibly helpful
If you’re wiring this into an existing system, check compatibility (Z-Wave, Zigbee, Matter, Wi‑Fi) before you buy. I made that oversight once and ended up with a very fancy, very dumb lock.
5. Sirens & Alerts
When I tested my first siren, I set it off in "test mode" without warning my family. That was… loud, and I still get reminded of it.
You want:
- At least 85–100 dB at the device (enough to be very uncomfortable indoors)
- A built-in backup siren in the main hub
- Fast, reliable push notifications for alarms, low batteries, and offline devices
If you’re in a dense neighborhood, you don’t necessarily need a siren that sounds like a nuclear drill, but it should be noticeable enough to spook an intruder.
Professional Monitoring vs Self-Monitoring
I’ve tested both setups: a full professionally monitored system and a DIY setup with zero monthly fees.
Professional Monitoring
How it works:
- Your system sends alerts to a monitoring center
- Operators attempt to contact you
- If needed, they dispatch police, fire, or medical
Pros:
- 24/7 human backup
- Can help with insurance discounts (my own insurer offered 5–10% off once I provided proof)
- Better for vacation homes or if you travel a lot
Cons:
- Monthly fees (typically $15–$40+ per month)
- False alarm risk if not configured properly
- Some contracts can be long and annoying to cancel
Self-Monitoring
Here, you are the monitoring center. You get alerts on your phone and decide what to do.
Pros:
- No or low monthly fees
- More control and less dealing with call centers
Cons:
- If your phone dies, you’re on a flight, or in a no-signal zone, your house is basically on its own
Personally, I run a hybrid: professionally monitored intrusion and fire sensors, but I still get every push notification and camera alert for my own awareness.
Step-by-Step Setup Guide (What I Actually Do in Real Homes)
When I help friends set up their systems, I follow a simple sequence. It prevents a lot of headaches.
Step 1: Map Your Home Like an Intruder
Walk around your house from the outside. Ask yourself:
- Where would you break in if you had to?
- Are there hidden side doors, basement windows, or dark corners?
I sketch a quick floor plan (nothing fancy) and mark:
- All entry doors
- Ground-level and easily reachable windows
- Hallways and major traffic paths
This becomes your sensor blueprint.
Step 2: Choose Your Ecosystem
Don’t just grab random devices. Pick a main ecosystem:
- A dedicated security brand (SimpliSafe, Ring Alarm, ADT, etc.)
- A smart home ecosystem (Google Home, Apple Home, Alexa, SmartThings) plus compatible security devices
When I mixed brands without planning, I ended up with three apps, two hubs, and a lot of complaining. One main app is far less painful.
Step 3: Start With the Brain (Hub or Base Station)
Your hub or base station is the nervous system.
- Place it centrally, not buried in a closet behind the router
- Ensure strong Wi‑Fi or Ethernet and, ideally, cellular backup
- Keep it semi hidden but not completely inaccessible (you’ll need to reach it occasionally)
Step 4: Install Sensors Strategically
My typical layout:
- Entry sensors: every exterior door, plus commonly opened ground-floor windows
- Motion sensors: covering main living areas and hallways
- Glass-break sensors: near large glass doors or big front windows (bonus layer)
Test each sensor after pairing:
- Open and close the door/window
- Walk in front of motion sensors
- Check in the app that each one shows the correct status
I also label everything: “Front Door,” “Kitchen Window,” etc. Future-you will thank you when you get a 2 a.m. notification.
Step 5: Set Up Cameras Thoughtfully
Outdoor cameras:
- Aim at approach paths (driveways, walkways, porches)
- Avoid pointing straight at neighbors’ windows (privacy + legal issues)
- Mount them high enough to avoid easy tampering but low enough for useful facial detail
Indoor cameras:
- Cover main routes, not bedrooms
- Clearly tell guests (and household members) where cameras are and aren’t—privacy matters for trust
Tweak detection zones and sensitivity in the app. When I first installed a driveway camera, I had to trim the activity zone so it stopped alerting every time a car drove down the street.
Step 6: Customize Modes (Home, Away, Night)
I treat these modes differently:
- Home: doors+windows armed, motion sensors off in living areas
- Away: everything armed
- Night: doors, windows, and some interior motion sensors (but not in frequently used areas)
Run a couple of “fake days” where you arm and disarm while paying attention to what feels annoying vs what feels safe.
Pros, Cons, and Common Mistakes
What Works Well
- Layered systems: cameras + sensors + good locks massively reduce risk
- Visible deterrents: yard signs, stickers, and cameras really do influence behavior
- Smart alerts: person/package detection reduces noise and keeps you from ignoring alerts
What Doesn’t Work (or Not As Well)
- Over-sensoring everything: every cabinet and closet does not need a sensor
- Ignoring cybersecurity: weak Wi‑Fi passwords or outdated firmware can expose your cameras
- Set-it-and-forget-it mindset: you need to test the system a few times a year
I schedule a “security drill” twice a year (same day I change smoke detector batteries). I test:
- Door sensors
- One motion sensor
- One camera live view
- Siren
It’s slightly annoying, but it catches dead batteries and flaky devices before they fail when you actually need them.
Privacy, Data, and Choosing Brands You Trust
One thing I underestimated at first was who gets to see my video.
Questions I ask before I recommend a system:
- Does the company encrypt video recordings in transit and at rest?
- Can I turn off cloud recording and store locally if I want?
- Is there a clear data retention policy?
Some brands have had headline-making privacy issues over the years, and that’s not something I ignore. I read their privacy policies (yes, really) and look for independent security audits or transparent responses when incidents occur.
If a company is vague about who can access your footage and for how long, I move on.
When to DIY and When to Call a Pro
DIY is usually fine if:
- You’re comfortable with apps, Wi‑Fi, and drilling a few holes
- Your home is under ~3,000 sq ft and not made of weird concrete that kills wireless signals
Call a pro if:
- You’re wiring a large home or multi-story property
- You want fully integrated fire, CO, flood, and security under one professionally installed system
- You’re dealing with historical or complex structures
I’ve done both. My own home is DIY. A relative’s 100-year-old house with stone walls? I happily paid a professional who knew how to fish wires through impossible places.
Final Thoughts: Build a System That Matches How You Actually Live
The best home security system isn’t the most expensive or the most high-tech—it’s the one you actually use every day.
If I were starting from scratch again, I’d begin with:
- A reliable hub with battery and cellular backup
- Door sensors on all exterior doors
- One or two well-placed motion sensors
- A video doorbell and one driveway/porch camera
- Clear, simple alert rules and modes
Then I’d live with it for a month and only add more gear where there’s a real need.
That’s how I turned that half-open front door from a few years ago into a full, but not overwhelming, security setup that quietly works in the background while life happens in the foreground.
Sources
- FBI Crime Data Explorer – Burglary Statistics - Official U.S. burglary data and trends
- Electronic Security Association: Home Security Study - Industry association citing burglar behavior research and deterrence data
- Consumer Reports – How to Choose a Home Security System - Independent testing and buying advice
- Federal Trade Commission – Home Security System Shopping Tips - Government guidance on selecting and evaluating systems
- University of North Carolina at Charlotte – Offender Decision-Making Study - Research on what burglars look for and how alarms affect their choices