How I Turned My Tiny Apartment Into a Cinematic Home Theater
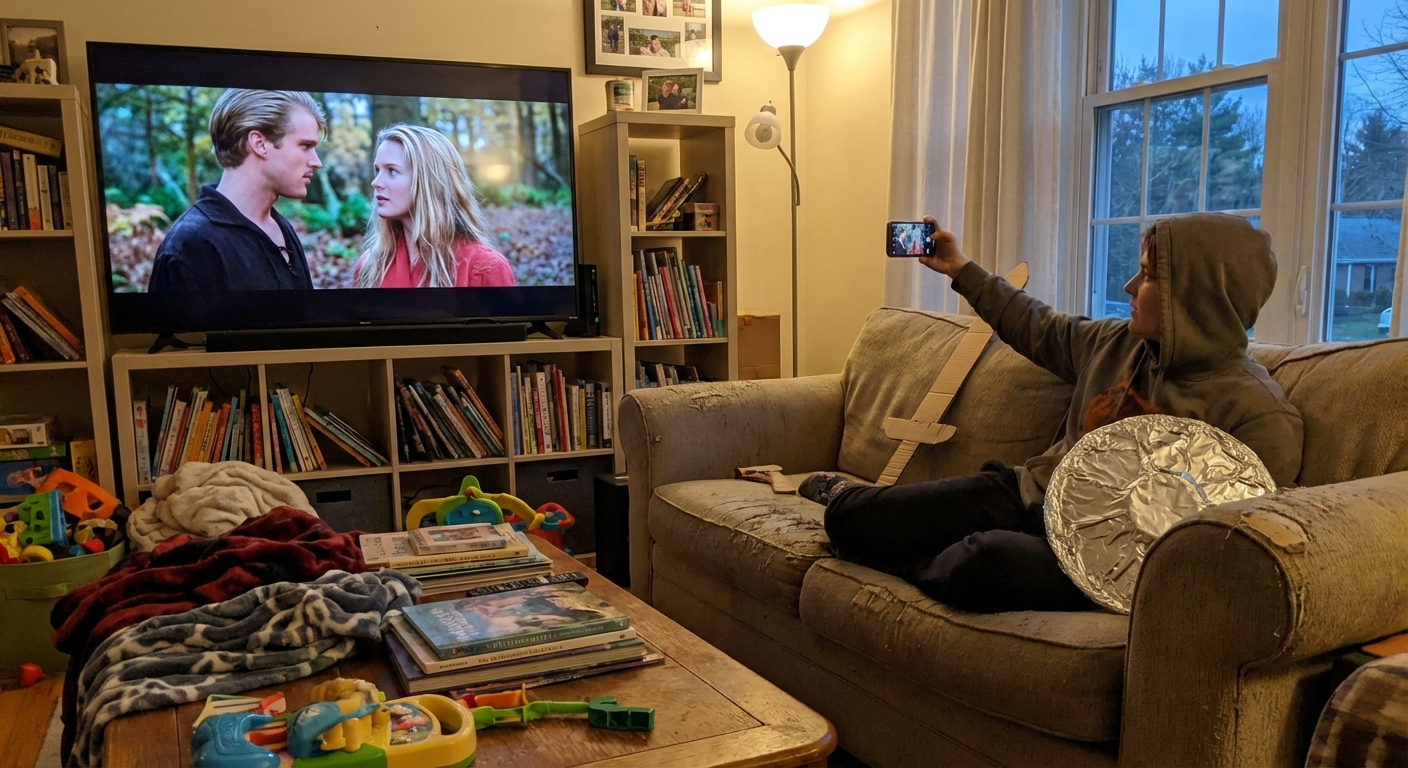
, squinting at sandworms on a 13-inch screen, and snapped. Over a few weeks—and a lot of trial and error—I turned my tiny apartment living room into a surprisingly epic mini-cinema without going broke or fighting my neighbors over noise complaints.
Here’s exactly what worked, what flopped, and what I wish I’d known sooner if you’re dreaming of a legit movie-night experience at home.
Figuring Out Your “Cinema Personality” Before You Buy Anything
The biggest mistake I made at first was buying gear before I knew what kind of viewer I actually am.
I thought I needed a giant 4K TV, a soundbar the size of a skateboard, and blackout curtains everywhere. But when I tracked how I actually watch stuff for a week, I noticed a pattern: I mostly watch streaming movies at night, often with friends, and I rewatch a lot of visually rich films (think Blade Runner 2049, Spider-Man: Into the Spider-Verse, Ghibli movies). That shifted everything.
Instead of asking “What’s the best gear?”, I started asking:
- Do I care more about picture or sound?
- Do I usually watch alone or with people?
- Do I watch more movies, TV shows, or games?
- Do I need the room to look “normal” again during the day?
For me, the answers were: picture first, with people, mostly movies, and the room has to double as a normal living room. That’s why I eventually chose a projector instead of a TV, a compact 2.1 sound system, and a setup that hides away when guests come over.
If you’re more of a sports watcher or binge-series person, your priorities might flip—higher refresh rate TV and better dialogue clarity, less focus on dramatic black levels. Once you know your style, every decision gets easier and cheaper, because you stop paying for features you don’t care about.
The Screen vs. TV Debate: What Actually Feels Cinematic
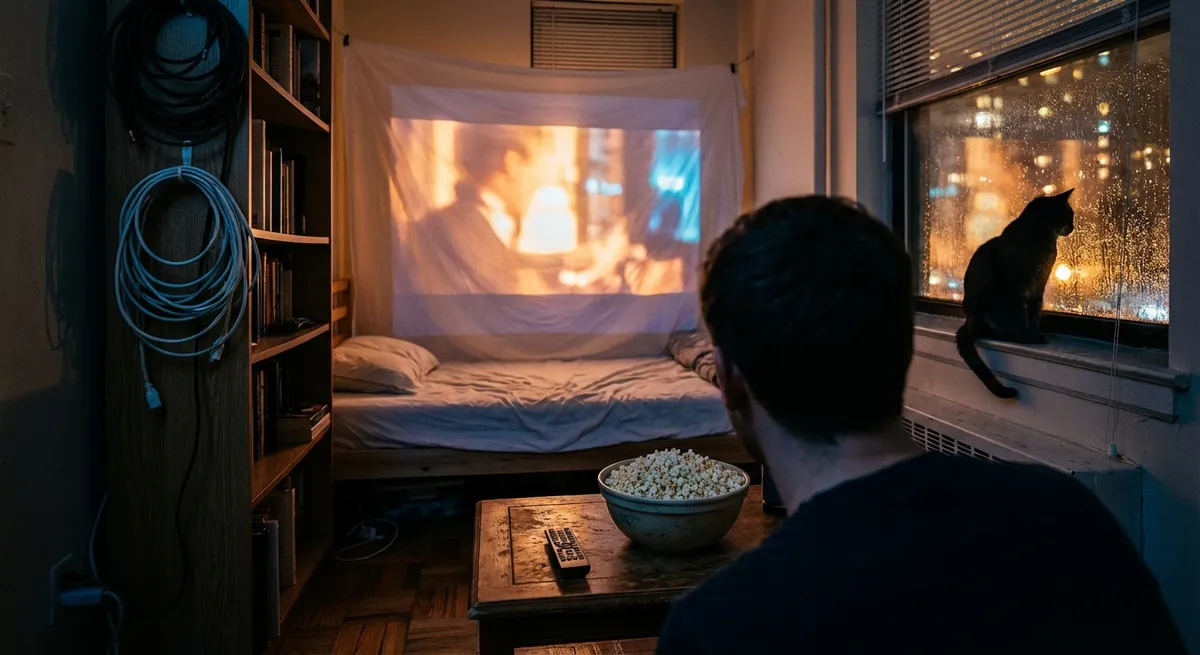
I tested both: a 55" 4K TV and a budget-friendly projector with a 100" screen. On paper, the TV won—super sharp, brighter, easier. But when I watched Arrival on the big projection, I literally said “oh wow” out loud, alone in my apartment like a weirdo.
Here’s how the trade-off actually feels in real life:
TV (what I found):- Better for daytime watching—no need to darken the room.
- Sharper image, especially with 4K HDR content. The difference is noticeable on high-quality streams and UHD Blu-rays.
- Less fiddling: no keystone adjustments, no ceiling mounts, no screen alignment.
- That huge image changes how movies feel. A 100" screen makes even slower films feel more immersive.
- More “cinema-like” in the dark: the slight texture, the way the light hits the wall—it’s not perfect, but it’s cozy and dramatic.
- Weird upside: when it’s off, the room looks like a normal living room again. My screen rolls up, and the “theater” disappears.
When I tested a mid-range projector (around 2,000 lumens, 1080p), it looked okay with some daylight and legitimately great at night. I don’t think most people need 4K projection unless you’re sitting close or you’re super picky about detail.
Industry folks at sites like RTINGS and AVS Forum often say the same: for most living rooms, a good 55–65" TV is easier and technically “better,” but projectors win on sheer scale and vibe. Personally, I’d choose vibe for movie nights every time—as long as you can control lighting.
Sound That Actually Feels Big (Without Hating Your Neighbors)
I underestimated sound for years. Then I watched Mad Max: Fury Road on my projector using just its built-in speaker and it sounded like a phone inside a shoebox. Not dramatic.
When I finally invested in a proper audio setup, it transformed everything: dialogue was clear, background music felt emotional again, and quiet scenes in films suddenly had weight.
Here’s what I tested and how it played out:
1. TV/Projector Built-In SpeakersIn my experience: fine for casual YouTube or a sitcom. Completely underwhelming for movies. Bass is almost non-existent, and dialogue gets swallowed by sound effects.
2. SoundbarI tried a mid-range soundbar with a wireless subwoofer. Pros: setup was stupidly easy—HDMI ARC, done. It instantly made Netflix and Blu-rays feel more dynamic. Cons: most soundbars try to fake surround sound using virtual processing, and once you hear real stereo separation or actual rear speakers, you can’t un-hear the difference.
3. Compact 2.1 System (My Keeper)I ended up with a small AV receiver, two bookshelf speakers, and a sub. It took more space and effort, but the result was wild. When I watched The Batman, I could hear tiny echoes in the Batcave, and the low rumble felt like it was in my chest, not just “loud.”
The tricky part: neighbors. Surround systems and big subs can bleed through walls. I had one polite but firm knock on my door at 11:45 PM after a particularly explosive scene in Tenet. Now I:
- Use a “night mode” or dynamic range compression setting after 10 PM, so loud scenes don’t jump as much.
- Lower the subwoofer level at night; bass travels.
- Sometimes use good wired headphones (or a wireless transmitter) for late-night marathons.
Sound engineers and home-theater pros often say to prioritize a solid 2.1 or 3.1 setup before adding rear speakers. I agree. Clean dialogue and good front soundstage matter way more than pretending a helicopter is behind you 24/7.
Lighting Tricks That Make Your Screen Look 2x Better
When I finally got the image and sound right, I realized something subtle: the room itself still felt… flat. It looked like “living room with big picture,” not “home cinema.” That’s when I started playing with lighting—and that’s honestly when the magic happened.
Here’s what I did that had the biggest impact:
- Bias lighting behind the screen/TV:
I stuck LED strips behind the screen and set them to a soft, neutral white. This reduced eye strain and made blacks look deeper, even though the projector’s black level hadn’t changed. This trick is all over professional setups and THX guidelines, and now I get why—it works absurdly well.
- One dim lamp in the corner:
Total darkness actually made my eyes tired during longer films. A single, warm lamp in the back of the room (behind the seating area) made the experience cozy and less fatiguing. It also helped keep my guests awake during slow arthouse movies.
- Avoiding bright, colored LED chaos:
I experimented with “gamer RGB mode” everywhere—red behind the screen, blue in the corner, pulsing color changes. It looked impressive on Instagram, but it distracted from the movie. Now I keep colors subtle and mostly static unless we’re doing something specifically stylized, like a music video night.
Cinematographers obsess over contrast and how our eyes adapt to light. Setting your room up so your eyes aren’t constantly straining against a bright rectangle in a pitch-black void makes the image feel richer than just cranking brightness.
Curating Movie Nights So People Actually Show Up
Once my setup was dialed in, I hit a funny new problem: I’d spent all this time and money and still ended up watching alone half the time. That’s when I realized the other half of “home cinema” is social and emotional, not technical.
Here’s what made my place the unofficial movie-night spot among my friends:
1. Themes beat random picksInstead of “let’s watch something,” I started hosting themed nights:
- “Neon Night”: Drive, John Wick, or Blade Runner 2049
- “Anime Feast”: double feature with Spirited Away and Your Name
- “Practical Effects Night”: The Thing, Jurassic Park, Mad Max: Fury Road
Giving it a theme made it feel like an event, not just “Netflix on a bigger screen.”
2. Physical media is a secret weaponI grabbed a few Blu-rays of my absolute favorites, inspired by nerdy deep dives I watched about bitrates and compression. On streaming, dark scenes often look mushy or blocky; on Blu-ray, they’re way cleaner. When I tested The Dark Knight on Blu-ray vs. streaming, even my non-techy friend noticed.
Sites like the Blu-ray Disc Association and AV nerds at places like The Digital Bits talk about how higher bitrates and uncompressed audio tracks give a more faithful representation of what the director/cinematographer intended. In real-world terms: less banding, richer shadows, better sound.
3. House rules keep drama off the screenAfter a chaotic night where someone live-commented every single scene and another person checked TikTok at max brightness, I quietly created a few ground rules:
- Phones on silent, face down.
- Pause for snacks and bathroom every 45–60 minutes.
- No roasting the movie until credits roll, unless it’s a “so bad it’s good” night.
Ironically, setting boundaries made the nights more relaxed, because everyone knew the vibe.
The Hidden Downsides (And How I Worked Around Them)
I’m not gonna pretend home theater is all popcorn and goosebumps. There were real annoyances and a few “wow I regret buying that” moments.
1. Cable chaosOnce I had a projector, an AV receiver, streaming box, game console, and speakers, my living room started to look like a snake pit. I tried to tape cables along the wall myself and it looked… terrible.
Fix: I eventually invested in basic cable raceways and shorter cables that were the right length instead of random spares. It wasn’t glamorous, but it made the room look normal again.
2. Space vs. seatingMy room isn’t big, so I had to choose between a perfect “center seat” and actual comfortable seating for more than two people. For a while, I put my couch too close just to make the screen feel huge, and movies started to feel overwhelming and a bit headache-inducing.
Fix: I moved the couch back to a more natural distance, even if it made the screen feel slightly smaller. The experience became more relaxed, and people stopped shifting around uncomfortably.
3. Constant tinkering temptationOnce you go down the AV rabbit hole, it’s easy to obsess over calibration, upgrade paths, and specs instead of just… watching films. I caught myself pausing scenes to adjust brightness instead of enjoying them.
Fix: I did one proper calibration session (using built-in settings and a couple of online guides), saved a “Movie Night” preset, and forced myself to stop touching it every five minutes. Perfect is the enemy of getting lost in a story.
Experts often talk about “reference” setups and ideal color temperatures (like D65 for neutral white), but unless you’re grading films, good-enough and consistent is plenty for a home setup.
Why It’s Still Worth Building Your Own Little Cinema
After all the fiddling, the returns were clear the night I watched Spider-Verse with friends on the big screen. During the “Leap of Faith” scene, with the city inverted and the bass hitting just right, the room went quiet in that very specific way where everyone is locked in.
In that moment, my setup wasn’t just gear—it was a place where stories landed differently. Where we remembered lines, argued about endings, paused to rewind a shot just to say “Did you SEE that?”
If you’re even mildly obsessed with movies, I think building your own version of that is worth it, whether it’s:
- A modest 43" TV with a good pair of powered speakers and a comfy chair,
- Or a full projector setup with curated lighting and a Blu-ray shelf.
My advice after living with this for a while: start small, build slowly, and prioritize how the room feels over how impressive the spec sheet looks. The best home theater is the one that makes you forget, for two hours, that you’re still in your own apartment—and that’s absolutely doable on a normal budget, in a normal space.
Sources
- RTINGS – TV & Projector Reviews – In-depth, measurement-based reviews of TVs, projectors, and sound systems that helped me understand real performance beyond marketing claims.
- AVS Forum – Community discussions and expert insights on home theater setups, calibration tips, and real-world user experiences.
- THX – Viewing Distance & Home Theater Basics – Guidelines on screen size, viewing distance, and room setup that informed my layout decisions.
- Dolby – Home Theater Speaker Setup Guides – Official diagrams and advice on arranging speakers for the most immersive sound, even in small rooms.
- U.S. Department of Energy – Lighting Choices to Save You Money – Practical info on choosing efficient, comfortable lighting, which I adapted for bias lighting and ambient setups.