Why I Started Recreating Movie Scenes For Fun
I’d fallen into one of those YouTube rabbit holes, watching behind‑the‑scenes breakdowns from films like “La La Land”, “Mad Max: Fury Road”, and “Everything Everywhere All at Once.” At some point I caught myself thinking, “How much of this cinematic magic is actually possible with a regular phone and zero budget?”
So I tested it.
Over the last few months I’ve tried recreating iconic shots from different movies using only my phone, a couple of lamps, and whatever props I could steal from my living room. And I learned a ridiculous amount about how modern film language actually works in practice.
This isn’t theory-from-a-textbook stuff. I messed up a lot. I got motion sick trying to do handheld tracking shots in my hallway. I nearly set off the smoke alarm with a fog machine I bought for $35. But I also learned which tricks dramatically level up your home videos, TikToks, or short films with almost no money.
Let me walk you through what worked, what totally flopped, and what I’d do differently.
Step 1: Stealing the Shot (Legally) – How I Broke Scenes Down
The first thing I realized: professional directors think in shots, not vibes.
When I tested my first scene — that dreamy walking‑toward‑camera shot from “Call Me by Your Name” — I paused the scene every 1–2 seconds and wrote down:
- Camera angle (eye level, low angle, over‑the‑shoulder)
- Camera movement (static, pan, tilt, dolly in/out)
- Lens feel (wide, normal, tight close‑up)
- Depth of field (background sharp or blurred?)
- Light direction (is the main light coming from the left, above, behind?)
I got this method from reading Walter Murch’s book “In the Blink of an Eye” and then cross‑checking with lessons from the American Cinematographer magazine archives. Working professionals do this kind of shot breakdown constantly — they call it “reverse‑engineering coverage.”
Once I started doing the same, scenes that used to feel “magical” suddenly turned into solvable geometry problems.
The Three Movie Tricks That Instantly Made My Shots Look Cinematic
1. Lighting From the Side, Not the Front
The first big unlock for me was realizing that most movie lighting is motivated — it pretends to come from a realistic source like a window, lamp, or streetlight.
When I copied that, my footage stopped looking like a Zoom call and started looking… intentional.
For one test, I tried to mimic Roger Deakins’ soft light from “Skyfall.” I didn’t have an ARRI SkyPanel (those are $5,000+), so I used:
- One cheap LED panel
- A white bedsheet as diffusion
- A desk lamp bounced off my wall for fill
I put all the light to one side, so one half of my face was brighter. Suddenly there was depth, shadow, and mood.
Researchers at the Journal of Vision (e.g., Gilchrist, 2015) have written for years about how humans read contrast and edge lighting as cues for depth. Movies lean hard into that, and you can too just by avoiding flat front lighting.
What didn’t work: I tried using only my ceiling light. Everything looked like a security camera.2. Locking the Frame (Your Tripod Is a Secret Weapon)
I used to think “cinematic” meant constantly moving the camera. When I re‑watched some of my favorite scenes with a filmmaker brain, I was stunned how often the camera… doesn’t move at all.
In my experience, the biggest upgrade came from stabilizing the phone:
- I used a $20 phone tripod
- When I didn’t have that, I wedged the phone between books on a shelf
Suddenly my “actor” (me, unfortunately) became the thing that moved. The frame felt deliberate instead of chaotic.
Film editor Walter Murch has this rule called “the rule of six” for cutting shots; visual continuity and emotional impact matter more than flashy movement. I felt that firsthand when I realized a calm, locked‑off frame made my cuts feel smoother and more professional.
What didn’t work: I tried doing a hand‑held tracking shot like in “Children of Men.” Without a gimbal, it mostly looked like found‑footage horror.3. Color Grading With Restraint
I’d seen TikToks where people slap heavy teal‑and‑orange filters on everything and call it "cinematic." When I tested this, my footage looked like it was cosplaying a Marvel movie in 2013.
So I stole a better approach from professionals:
- Slightly lower the highlights and lift the shadows for a soft, filmic contrast
- Gently warm skin tones while cooling shadows
- Avoid crushing blacks to pure zero
When I matched my test clips to stills from “Lady Bird” and “Arrival” using free LUTs and manual tweaks in DaVinci Resolve (there’s a free version), the difference was ridiculous.
According to a 2020 SMPTE (Society of Motion Picture and Television Engineers) conference paper, consistent color palettes significantly increase perceived production value — even if the camera is low‑end. My eyeballs strongly agree.
What didn’t work: Over‑saturating everything. It screamed “phone filter,” not “film.”Famous Scenes I Tried — And How Close I Actually Got
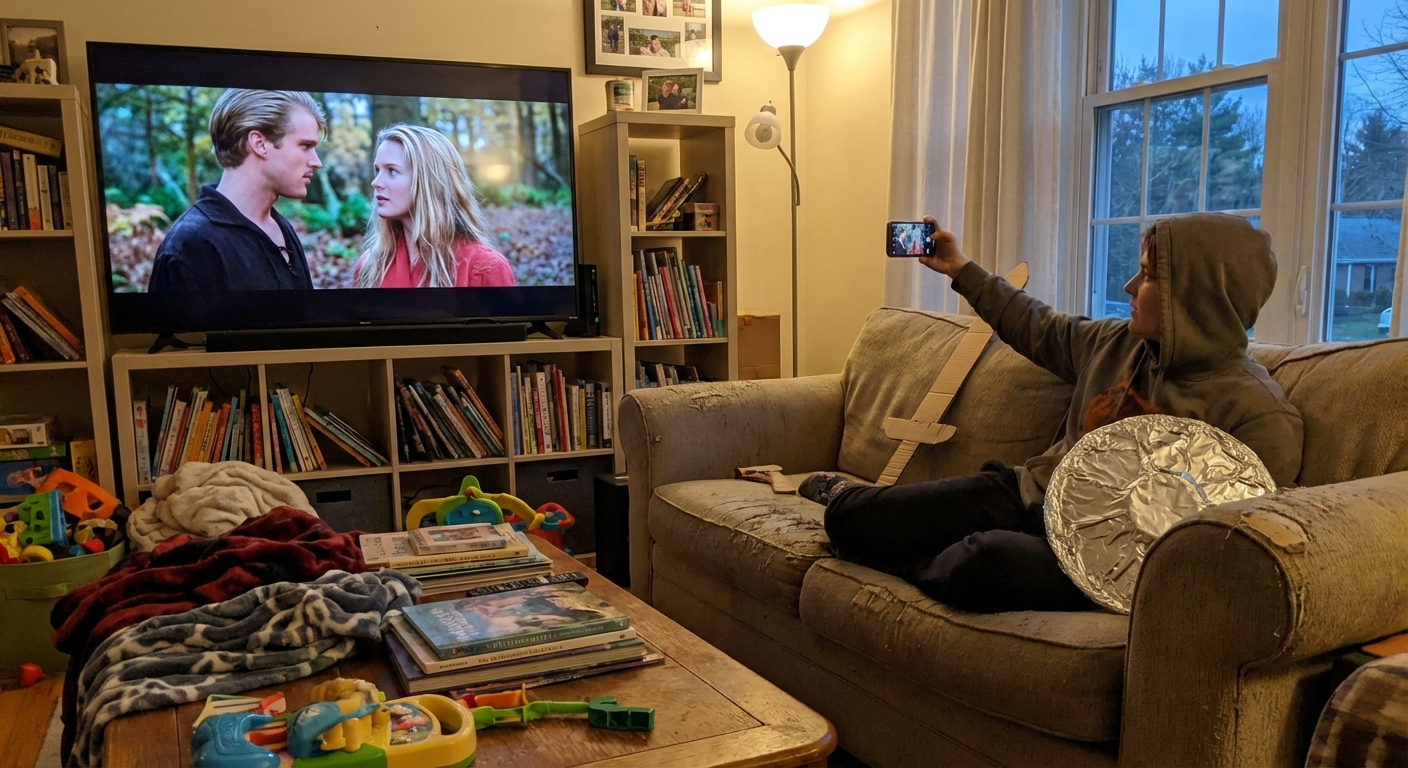
1. The “La La Land” Streetlight Spin
You know that lamppost dance with Ryan Gosling and Emma Stone?
I found an empty parking lot, brought a Bluetooth speaker, and used a friend as the camera operator. We tried to mirror the camera’s gentle arc around the couple.
What worked:- Using a wide lens (0.5x on my phone) and standing closer
- Keeping the camera movement slow and consistent
- We didn’t have a Steadicam, so every step shook
- Our lamppost was comically short
Was it identical? No. Did it feel like a mini‑musical? Weirdly, yes.
2. The Quiet Close‑Up From "The Social Network"
The break‑up scene in the opening of “The Social Network” is mostly medium close‑ups across the table.
I put my phone on a stack of books, sat at my kitchen table, and reenacted a monologue (don’t judge). I paid attention to:
- Eye‑line match between shots
- Cutting on blinks and subtle head turns
David Fincher reportedly did 99 takes of that scene. I did 5 and wanted to retire. But even at my modest attempt, I could feel the power of precise framing and micro‑expressions.
What I Learned About Story vs. Aesthetics
Here’s the uncomfortable truth I ran into: the coolest lighting in the world doesn’t save a boring moment.
When I showed friends two clips — one with okay lighting but a funny little story beat, and another with fancy lighting but zero narrative — they overwhelmingly preferred the first.
This lines up with decades of audience research. The USC Annenberg School has published multiple studies showing that emotional engagement and character identification predict enjoyment far more than pure technical polish.
So I started focusing less on “perfectly copying” the scene and more on:
- What emotion is this shot trying to communicate?
- What’s the power dynamic between characters?
- Who holds the frame longer, and why?
Once I aimed for emotional accuracy instead of visual cosplay, my recreations got better and — more importantly — more fun.
The Pros and Cons of Trying This Yourself
Upsides:- You learn film language stupidly fast
- You stop being intimidated by "pro" equipment
- You start watching movies with a sharper, more appreciative eye
- It’s surprisingly social — friends loved helping once they saw a few results
- It’s time‑consuming — even a 20‑second scene might take hours
- You may get obsessed with tiny details no one else sees
- Without proper gear, some shots (complex tracking, heavy VFX) are just out of reach
I also had to constantly remind myself: my goal wasn’t a pixel‑perfect clone. It was to understand why the original worked.
How You Can Start (Without Losing an Entire Weekend)
If you want to dip a toe into this rabbit hole:
- Pick a short, simple scene — under 30 seconds, 3–5 shots max.
- Watch it muted first and focus only on visuals.
- Screenshot each shot and note angle, movement, and light direction.
- Recreate with what you have — windows, lamps, a phone, a friend.
- Edit quickly in CapCut, VN, or iMovie. Don’t overthink.
- Compare side by side and ask: What’s different, and how does it feel?
None of this turns you into Denis Villeneuve overnight. But in my experience, you’ll never look at movies — or your own videos — the same way again.
And yes, I’m still chasing that perfect lamppost shot.